- Home
- VST Plugins
- Lunacy Audio CUBE

- Version
- 1.6.0
- Developer
- Lunacy Audio (Cinesamples)
- Languages
- English
- License type
- K'ed by FLARE
| macOS range | macOS 10.14 or later |
|---|---|
| Chip | Apple Silicon, Intel 64-bit |
| Download | 381 MB |
Screenshots
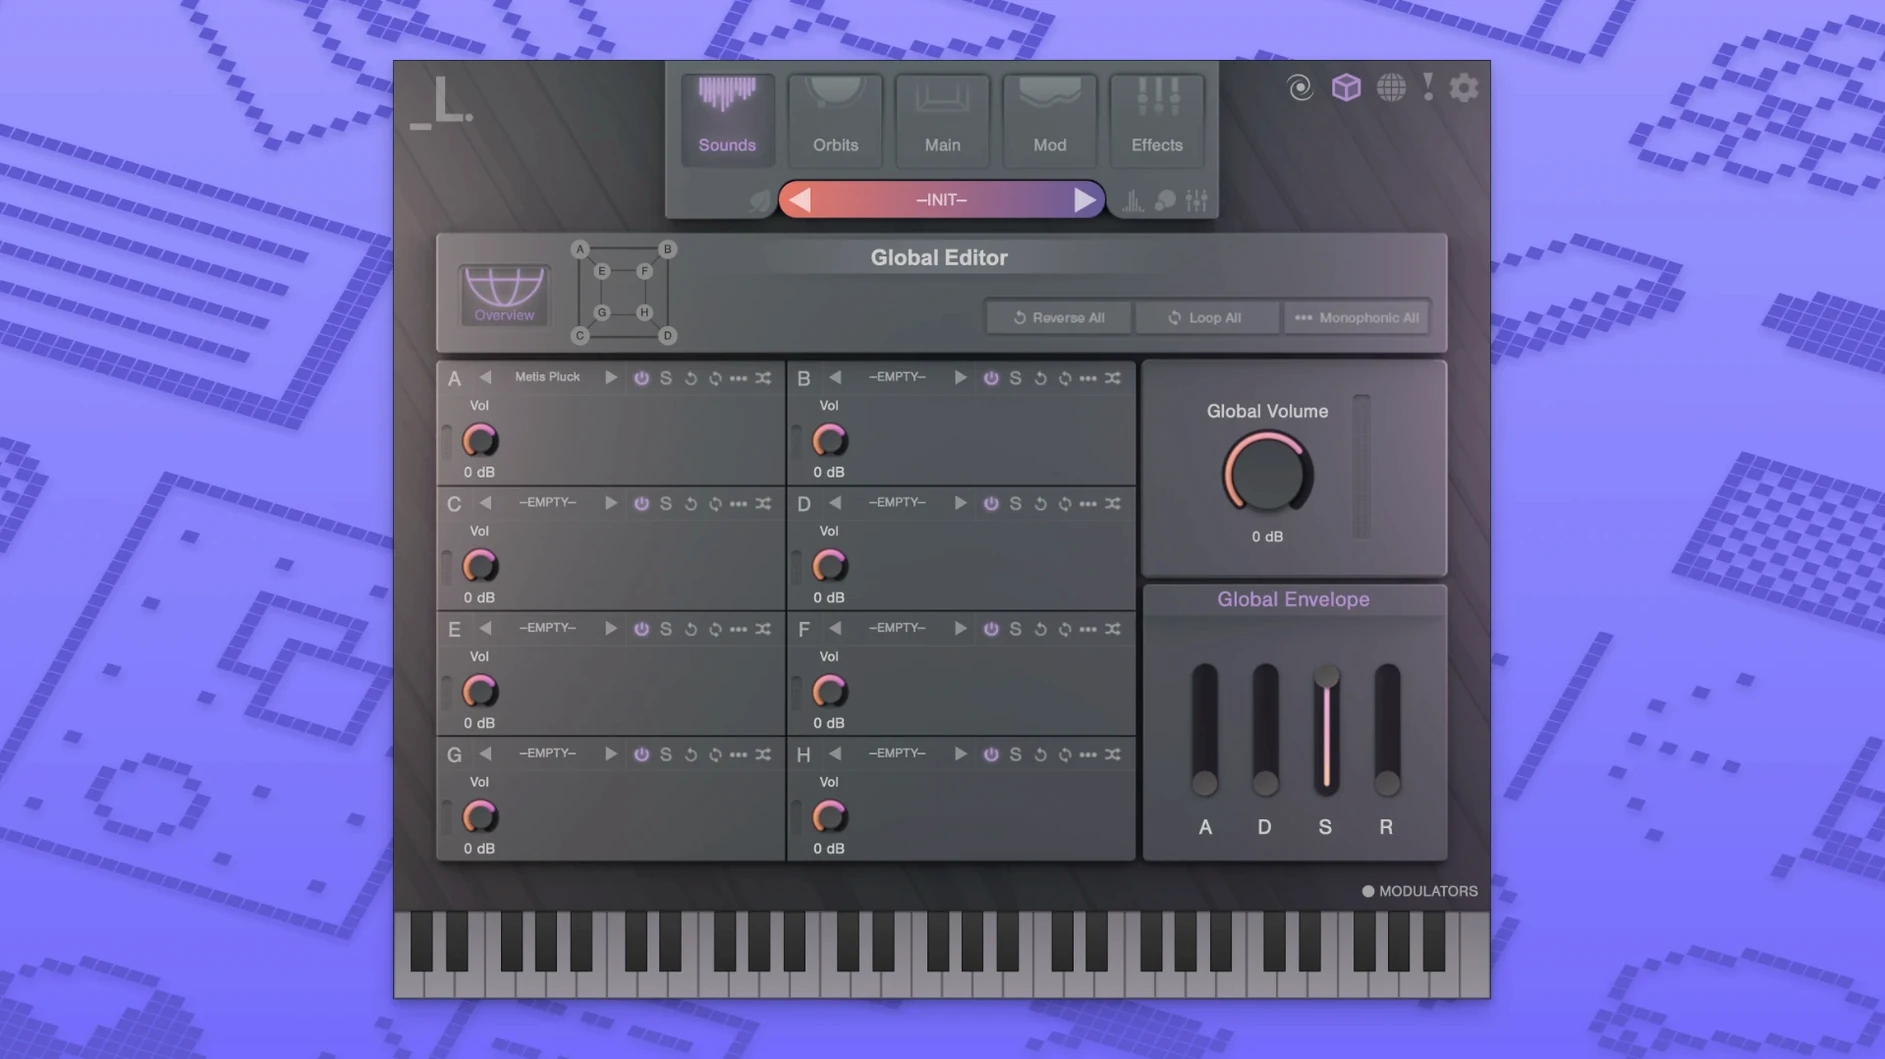
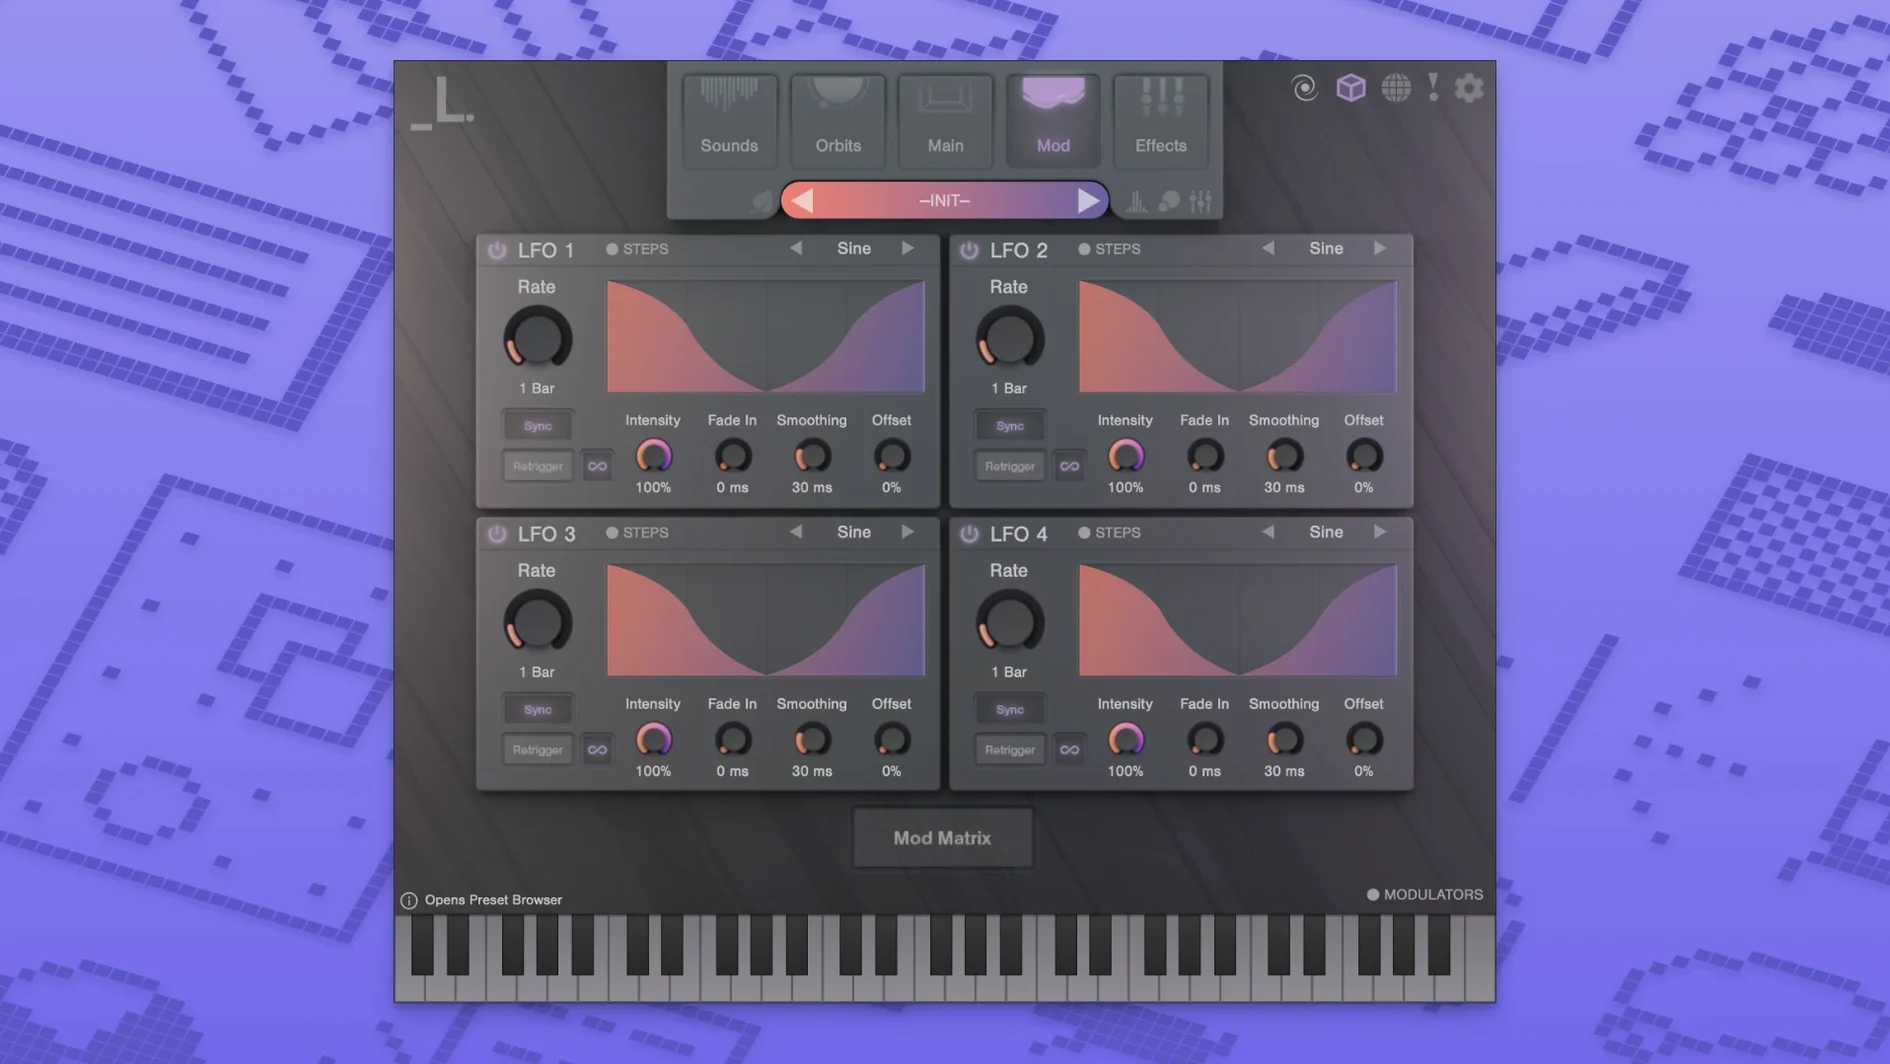
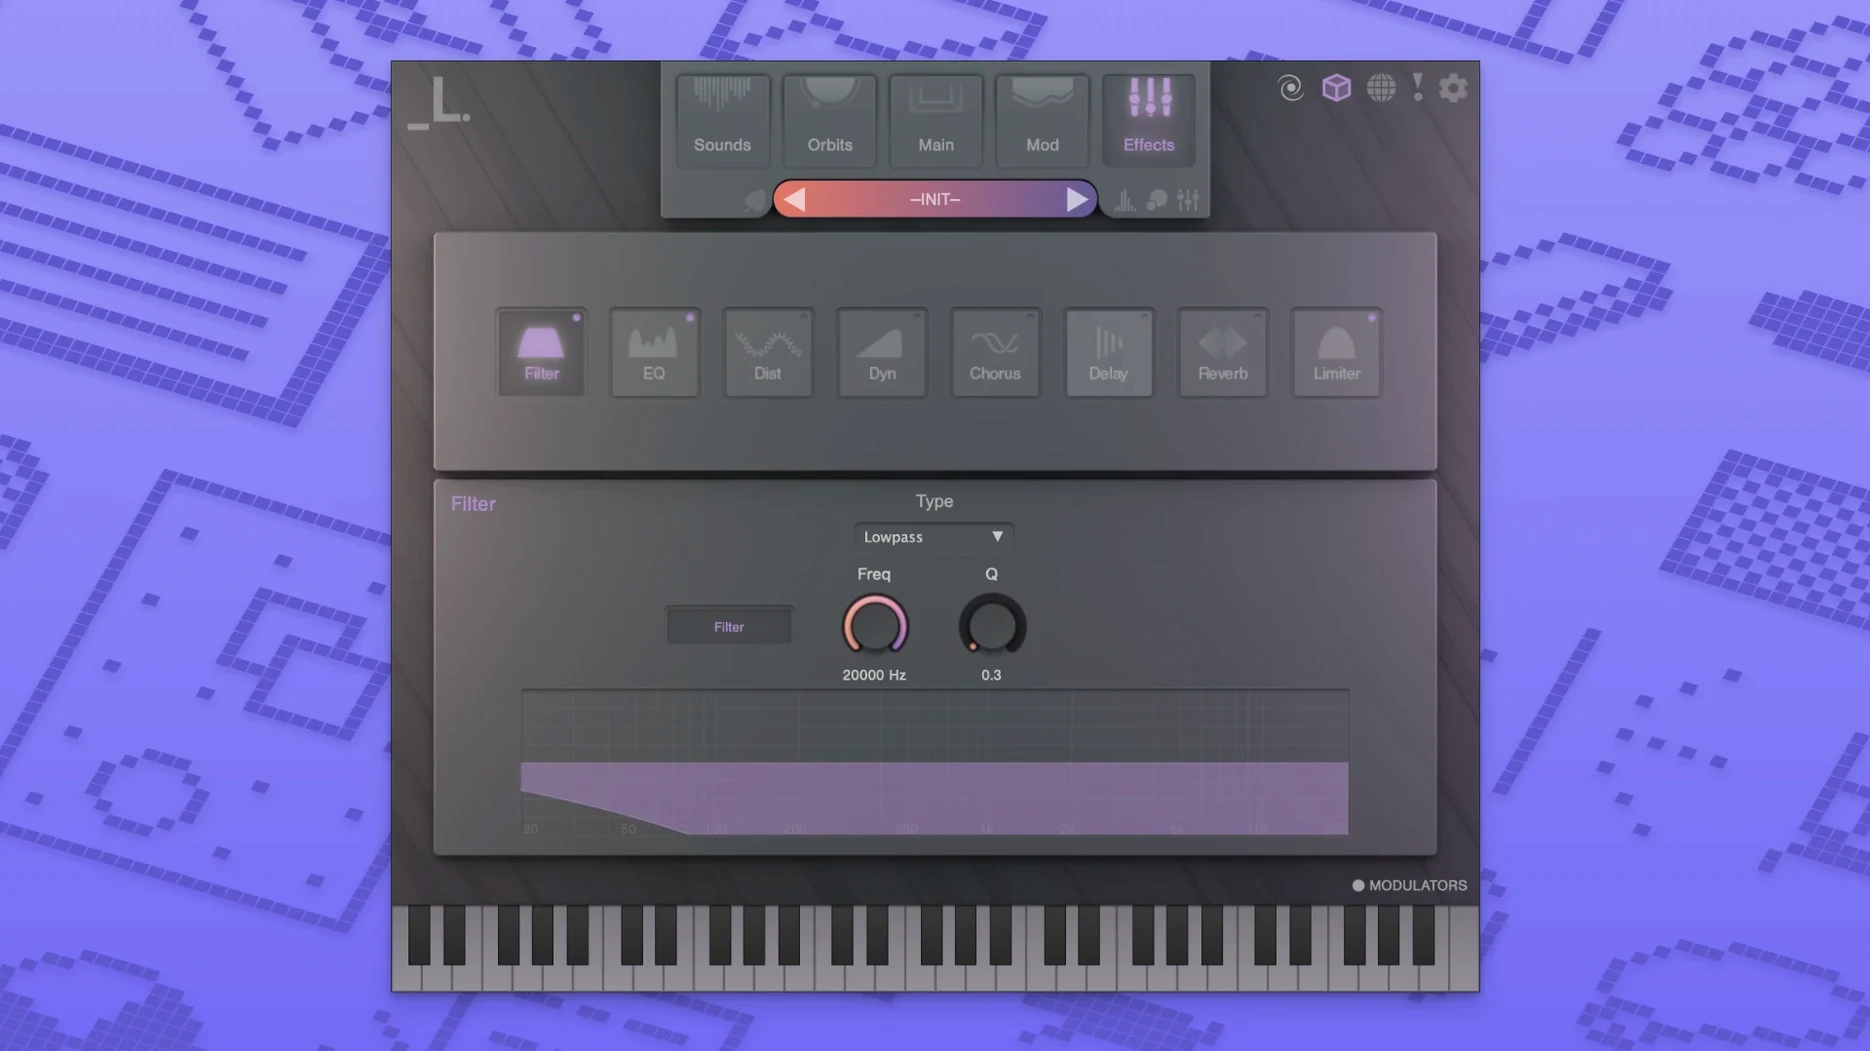
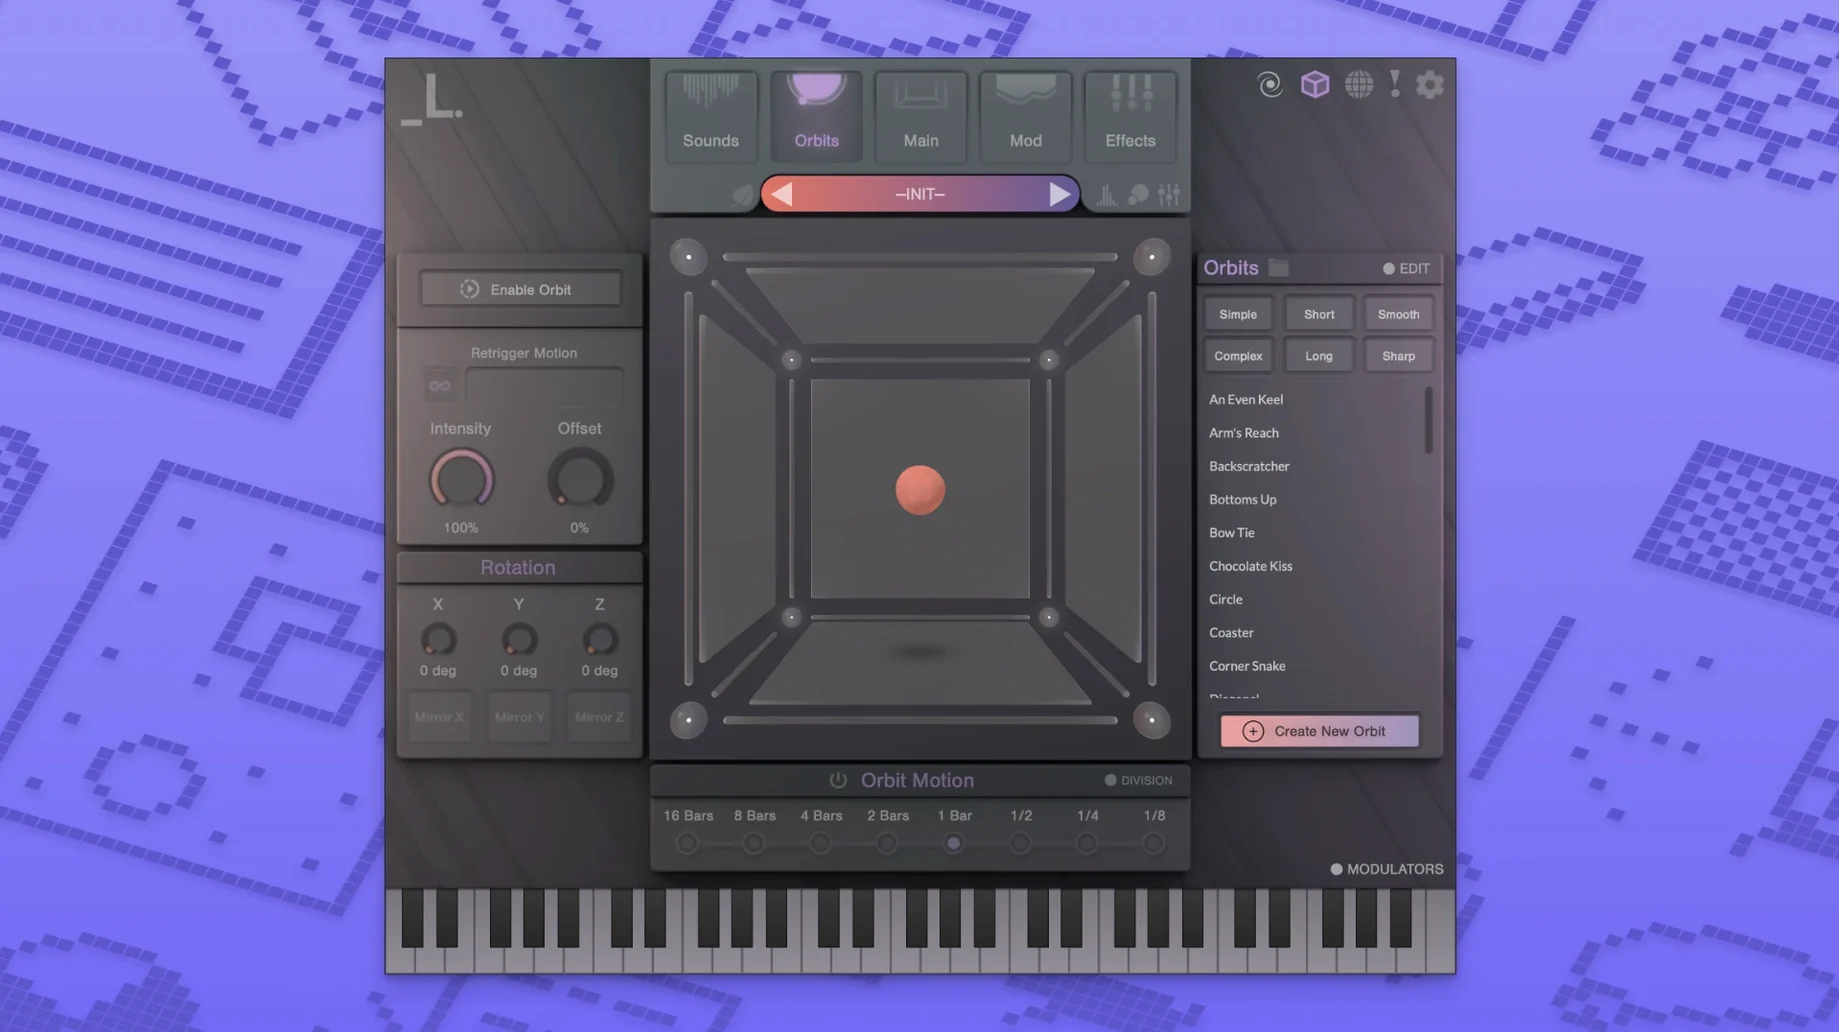
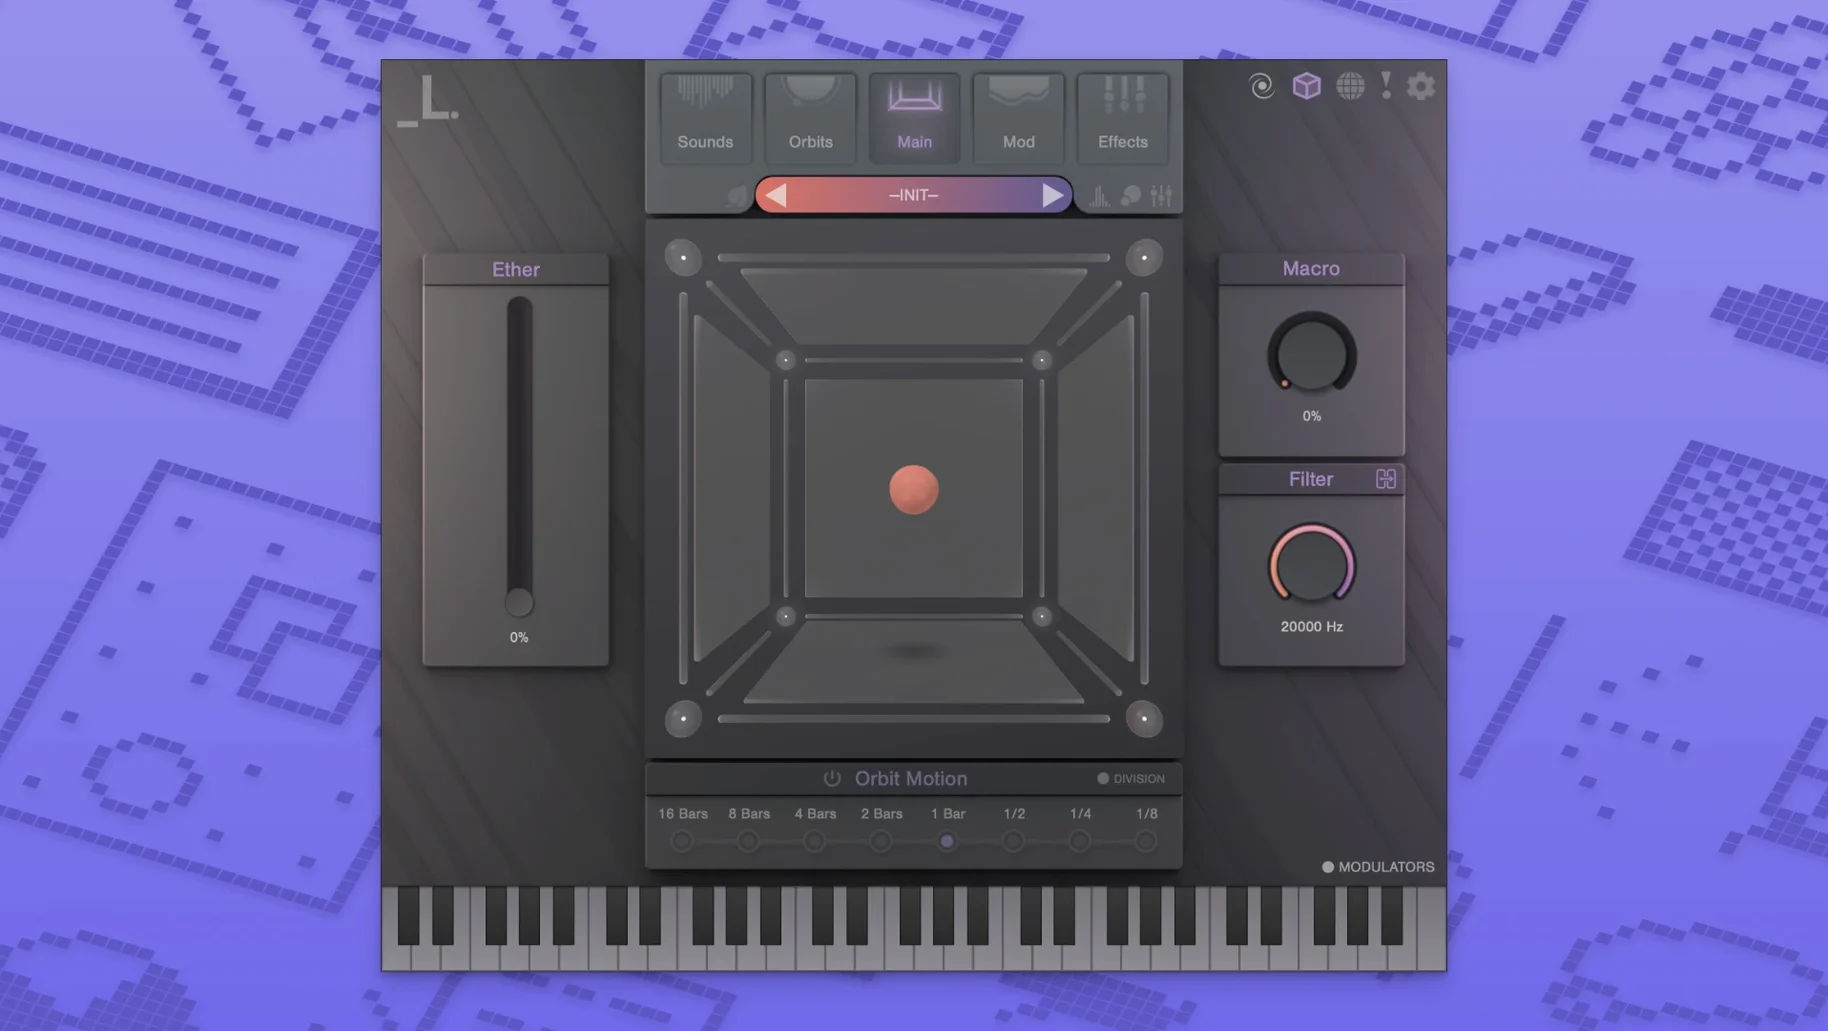
Click a screenshot to see it wider.
CUBE runs on any Mac with macOS 10.14 or newer, Intel or Apple Silicon. AU, VST3, and AAX formats are all supported, so it slots into Logic, Ableton, Pro Tools, or any major DAW.
3D Morphing Pad and Motion Systems
- 3D morphing pad – blend up to eight sounds across a three-dimensional space. Move a point and the mix shifts smoothly.
- Motion systems – automate the morphing over time. Set paths, speed, and randomness so the sound evolves without manual tweaking.
- Sound loader – drop in your own WAV or AIF files to replace any of the eight layers.
- Low-power mode – cuts CPU load when you're stacking instances or working on a laptop.
Continuously Morphing Texture Pad in a Mix
The 3D morphing lets you treat CUBE like a continuously morphing texture pad. Dial in a drone on one layer, a percussive hit on another, a vocal chop on a third, and animate the blend. The result is a part that never repeats exactly. Over 3,000 samples and 100 factory presets cover electronic, hip-hop, and pop, but the custom audio loader makes it as useful for sound design or post as for music.
How CUBE Compares to Similar Plugins
If you already use Output Arcade, you know the loop-based approach – pick a loop, play a few notes, layer another loop. CUBE works differently. It's not a loop player. Each of the eight layers is a sample that you blend in 3D space, so the sound morphs continuously rather than stacking loops in time. Arcade is better for quick melodic ideas with built-in loops. CUBE is better for evolving textures and sound design where the blend itself is the performance.
Native Instruments Kontakt is the opposite end of the spectrum. Kontakt is a sampler with deep scripting, huge libraries, and a steep learning curve. CUBE is simpler to get started – load a preset, move the point on the pad, and you get something usable fast. Kontakt can do anything CUBE does if you build the instrument yourself, but that takes significant time. CUBE gives you the 3D morphing as a ready-made engine with custom audio loading, so you don't have to script an evolving sampler from scratch.
Steinberg Padshop is a granular synthesizer focused on evolving pads and atmospheres. It generates sound from grains rather than layering discrete samples. CUBE layers up to eight of your own audio files and lets you morph between them. Padshop excels at creating new sounds from thin air. CUBE excels at taking existing sounds and blending them in spatial motion. For a producer who builds tracks from sampled material, CUBE is the more direct tool.
Building a Track with the Ambient Dust Preset
I open a new track in Logic and load CUBE as an instrument. The interface shows the 3D pad with a single point in the center. I pick a factory preset called "Ambient Dust" – it has four layers: a soft pad, a bell tone, a granular sweep, and a short vocal chop. The motion system is already running, so the point drifts slowly across the pad. The sound shifts from warm pad to bell to sweep over eight bars.
I want a more aggressive texture for the drop section. I open the sound loader and replace the pad layer with a distorted synth hit I recorded last week. I adjust the volume and filter on that layer independently. Then I draw a motion path in the 3D pad – a tight loop that cycles between the vocal chop and the new distortion layer every two bars. The other two layers stay in the background. I hit play. The automation runs, and the sound morphs exactly as I set it. No manual tweaking during the arrangement.
For the bridge I switch to low-power mode since I have several other plugin instances running. The morphing still works, but CPU usage drops noticeably. I add some reverb from CUBE's built-in effects and let the motion system run a slow random path. The texture shifts unpredictably but stays inside the sound palette I chose. In ten minutes I have a part that would take an hour to build with multiple samplers and automation lanes.
First-Day Tips for CUBE
- Install the samples to a custom location. The plugin installer puts factory presets and plugin files in the default system folder. The sample installer lets you pick a custom location. Put the samples on your fastest drive, separate from the system disk. This keeps the library portable and avoids filling your boot drive.
- Start with the factory presets, not custom loading. The 500+ presets are the fastest way to understand how the 3D morphing works. Play through ten presets, move the point manually on each, and listen to how the layers interact. You'll learn the engine's range without getting lost in your own files.
- Use motion systems early. Manual morphing is fine for static sounds. The motion systems are where CUBE becomes interesting. Set a slow random path on a pad preset and let the plugin run. You get unexpected transitions that you wouldn't program manually.
- Save your own presets. Once you replace a layer or adjust the motion path, save as a new preset. The default library is large, but your custom presets are faster to recall in a project.
- Try custom audio in one layer at first. Loading eight custom files at once is overwhelming. Replace one layer of a preset you already like. Hear how your sound blends with the factory samples. Then expand from there.
- macOS 10.14 or later
- Intel or Apple Silicon
The install order
- Run the plugin installer first.
- Then run the sample installer.
- Choose a custom location for the samples if needed.