- Version
- 0.5.9
- Developer
- Cap Software
- Languages
- English
- License type
- Included
| macOS range | macOS 13.1 or later |
|---|---|
| Chip | Apple Silicon, Intel 64-bit |
| Download | 107 MB |
Screenshots
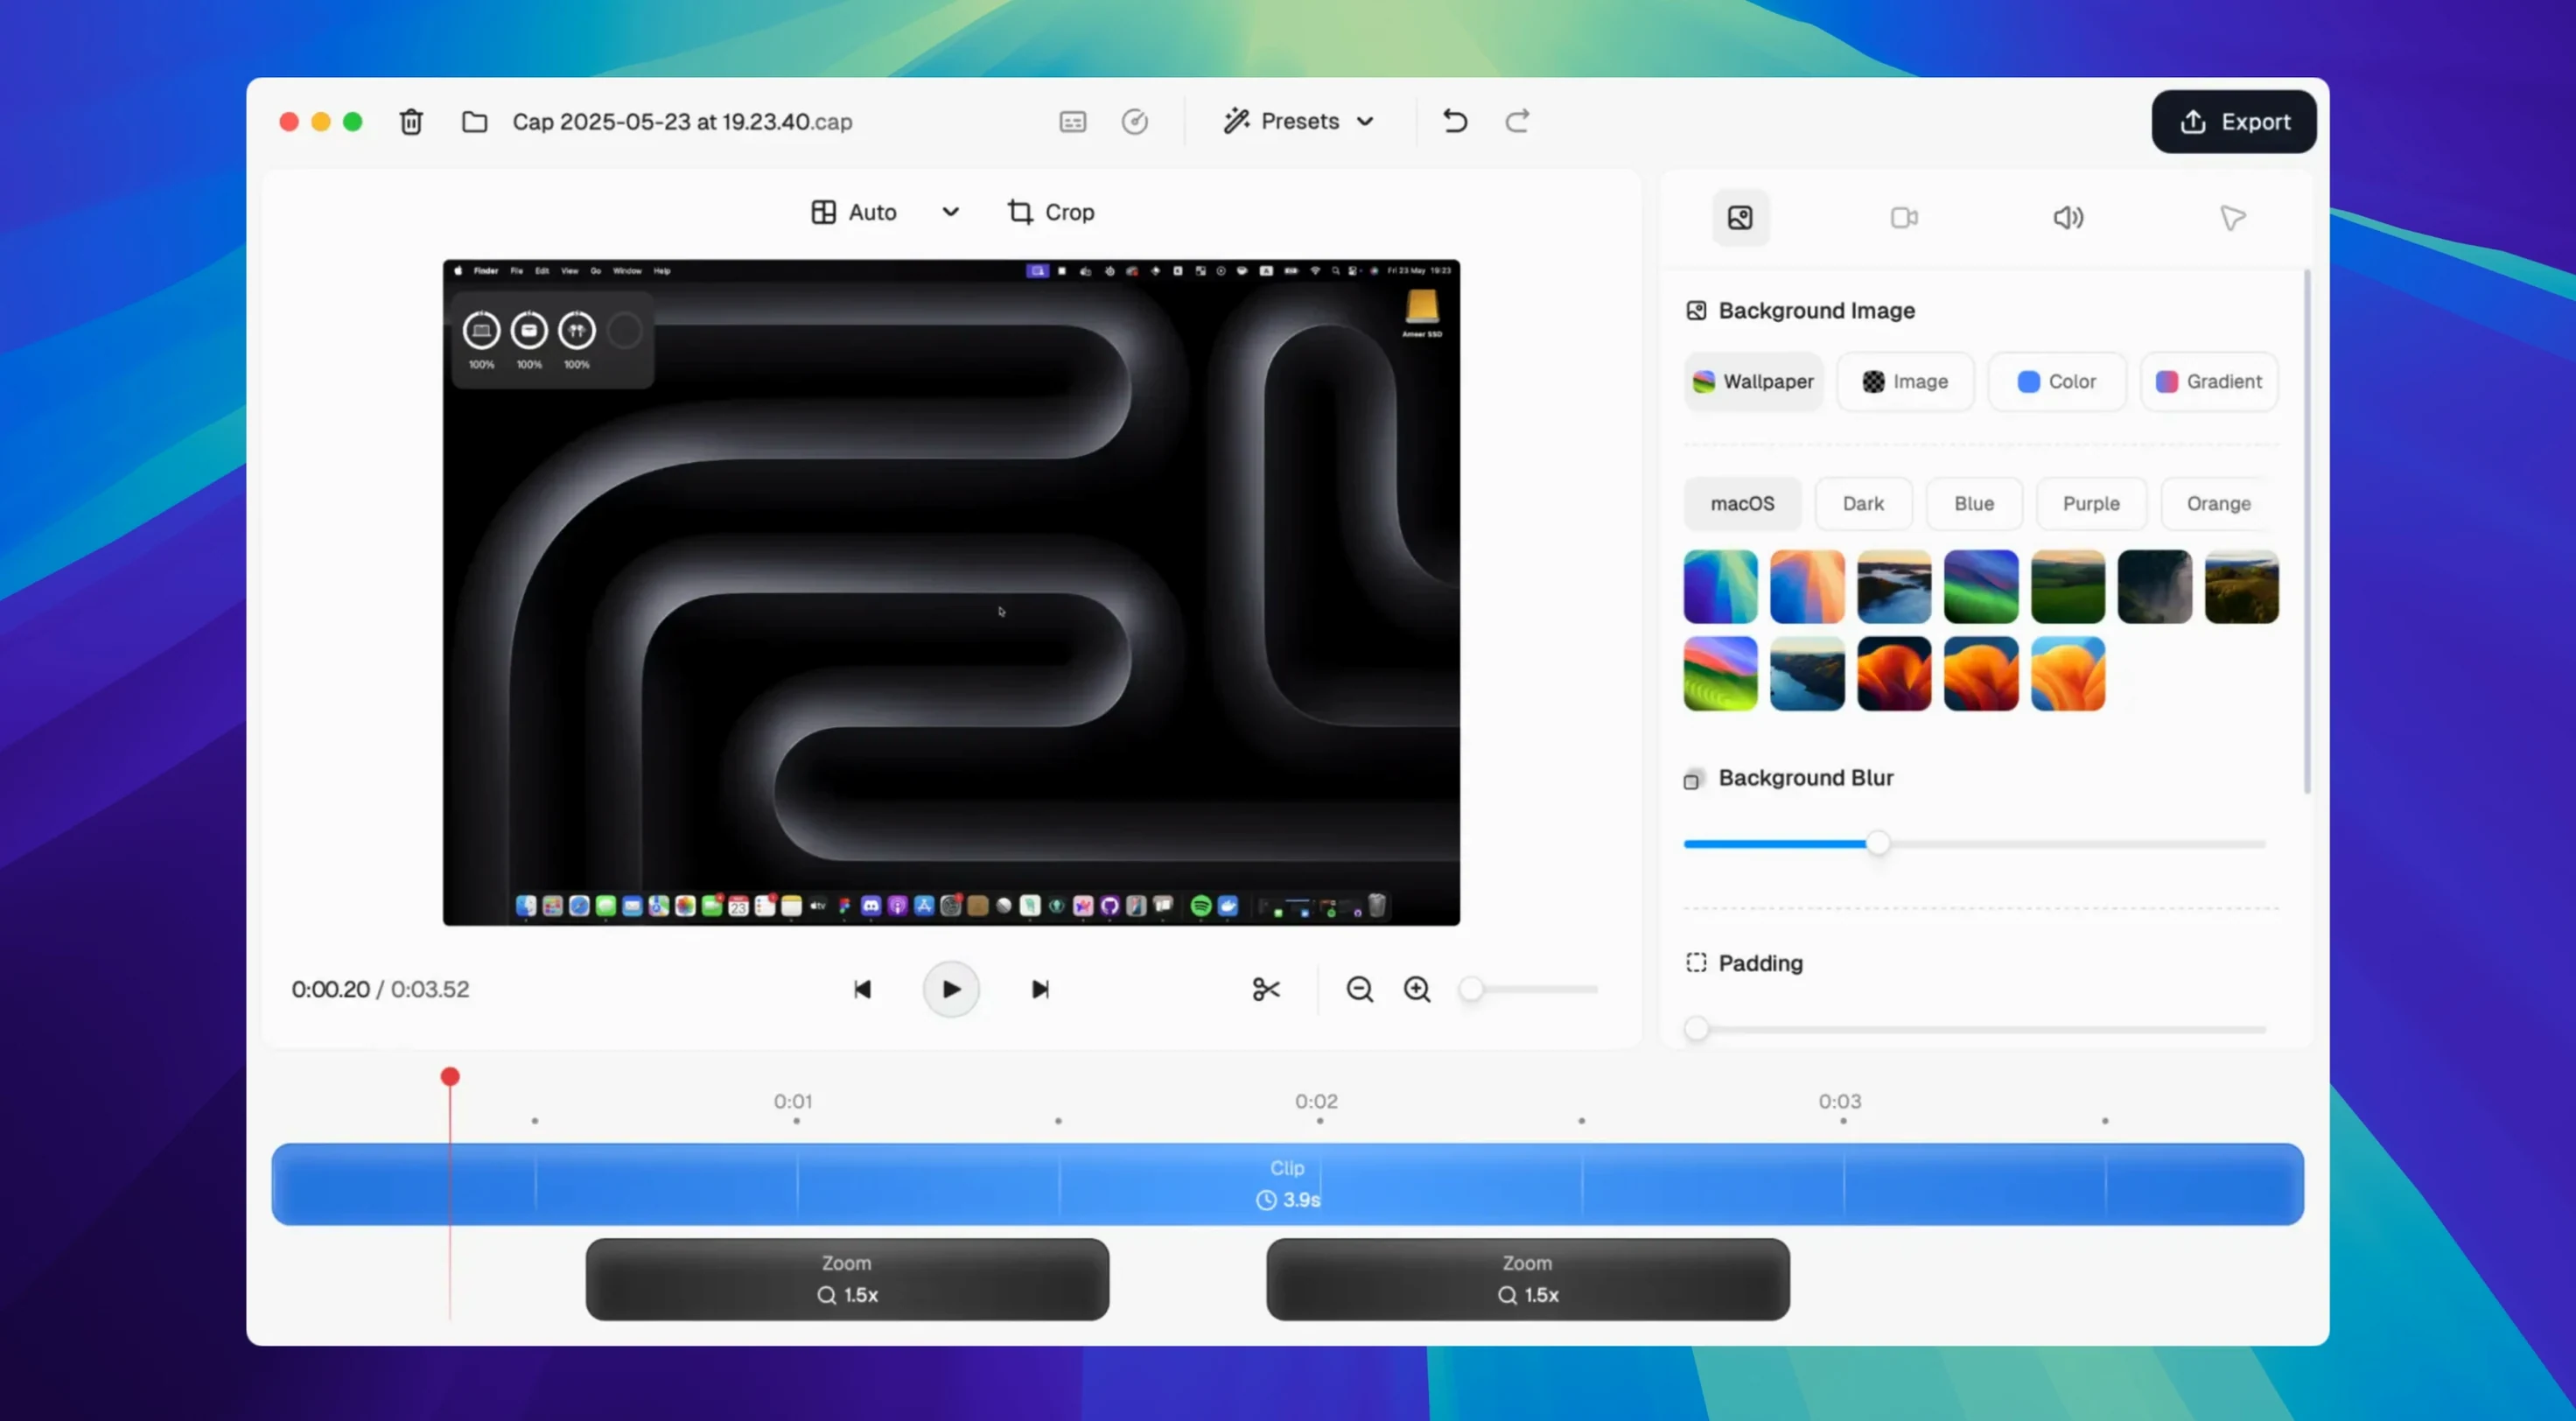
The 0.5.9 build of Cap Pro keeps the focus on practical recording. It splits microphone and system audio controls, so you can capture your voice, the app sounds, or both without extra routing. Studio Mode handles high-fidelity captures when you need clean output, and Smart Auto-Zoom keeps the action centered during demos.
Fits With Your Existing Setup
Cap Pro behaves like a utility, not a platform. It records the screen and webcam, edits clips in place, and shares via Instant Mode when you just want a quick link. Noise reduction cleans up the mic track. Cloud sharing and collaboration are built in, which makes it a solid open-source alternative to Loom for teams that already work across Mac and Windows.
Quick Share Workflow
For daily use, the workflow is simple: record, trim, share. You do not need to export a file first if you are using the cloud options. The app runs natively on both Apple silicon and Intel Macs, so it slots into mixed fleets without a second thought.
Remote Teams and Solo Creators
Remote teams and solo creators get the most mileage here. Developers explaining a bug can keep the cursor visible and let Smart Auto-Zoom follow the action. Educators recording a lesson get the webcam and screen in one pass, with the mic and system audio on separate tracks if a student asks a question mid-demo.
The editing timeline is the part that pulls its weight for these groups. Frame-accurate trimming lets you cut dead air from a walkthrough before you share. Moving clips around on the timeline beats re-recording a segment because you stumbled over a word.
Recording a Product Demo End to End
For a quick product walkthrough, work through this in order:
- Open Cap Pro and switch to Studio Mode for a clean, high-fidelity capture.
- Enable the microphone and system audio separately, then turn on noise reduction if the room is noisy.
- Start the screen recording, turn on Smart Auto-Zoom, and show the feature set you want to cover.
- Stop the recording and open the timeline. Trim the start and end, then join any clips you split mid-take.
- Add a custom background or logo if the clip is going to a client, then export locally or share via Instant Mode.
That flow works for a single clip or a longer session. The built-in Loom importer helps if you are migrating older recordings into Cap Pro before you download cap pro for mac and consolidate your workflow.
Which Users Get the Most Out of It
Developers and QA engineers benefit from the cursor effects. Motion smoothing keeps the pointer visible during fast UI navigation, and click visualization highlights exactly where you clicked. That alone cuts down on "where did you click?" follow-ups in bug reports.
Trainers and internal communicators rely on the custom backgrounds and rounded corners. A consistent visual frame with a company logo makes casual screen shares look polished without a full production pipeline. The gradient options let you match a brand palette quickly.
Editing a Multi-Source Walkthrough
When you need to combine a webcam intro with a screen recording and an outro, this is how the timeline handles it:
- Record the webcam segment first, then the screen demo separately in Cap Pro.
- Drop both clips onto the timeline. Move the webcam clip to the beginning, the screen demo in the middle, and trim the end of the screen clip.
- Join the three segments into one continuous video. Add a custom shadow around the webcam frame so it sits over the screen demo naturally.
- Adjust the system audio level if the demo audio is louder than the intro. Export locally as a single file.
The timeline handles the arrangement without a separate video editor. That keeps the whole task inside one app for users who record regularly.
- macOS 13.1 or later
- Apple silicon or Intel
- English
Questions I get about this line
Yes, Cap Pro includes separate controls for microphone and system audio, so you can record either or both as needed.
The install order
- Mount the downloaded disk image.
- Drag the app into the Applications folder alias.
- Launch the app from Launchpad after copying finishes.