Free download (28 MB) Previous versions
- Version
- 3.5.1 (195) fix
- Developer
- Vlad Danilov
- Languages
- English
- License type
- K'ed by TNT team
| macOS range | OS X 10.11 or later |
|---|---|
| Chip | Intel 64-bit |
| Download | 28 MB |
| Previous versions | 1 on file |
Screenshots
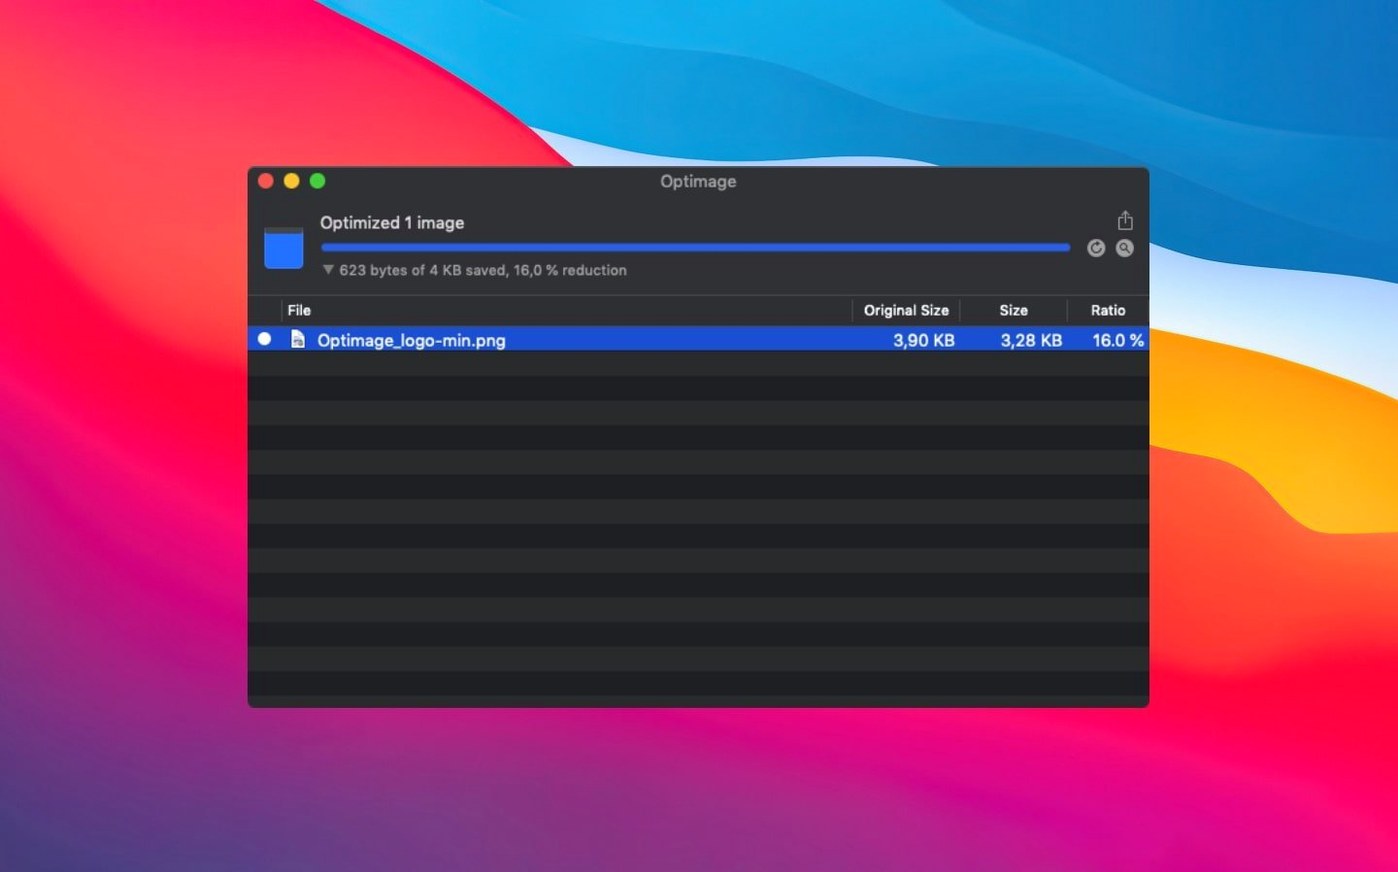
Click a screenshot to see it wider.
Optimage 3.5.1 runs on any Mac with OS X 10.11 or later, Intel architecture included. It's a compression utility that goes beyond simple file shrinking. For experienced users, the deeper tools matter.
- Automatic chroma subsampling and grayscale conversion to reduce file size without visible quality loss.
- Lossy and lossless compression modes, with image quality metrics adjusting settings automatically.
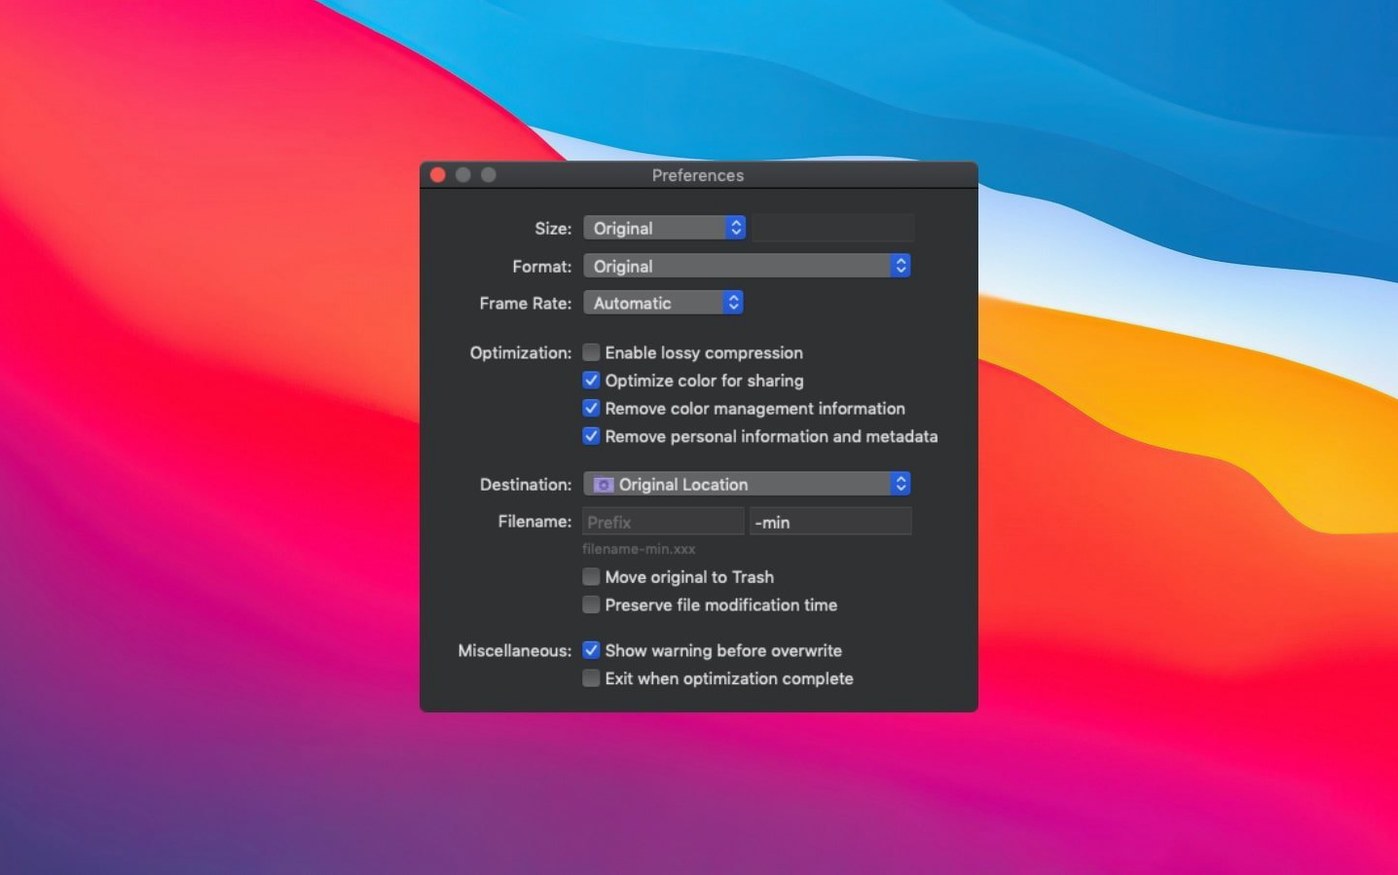
- Removes Exif, XMP, IPTC, GPS geotags, comments, and thumbnails — good for privacy and smaller files.
- Auto-rotates photos based on the Exif orientation tag, losslessly.
- Independent research project by Vlad Danilov, first released in 2016.
Drag-and-Drop Batch Workflow
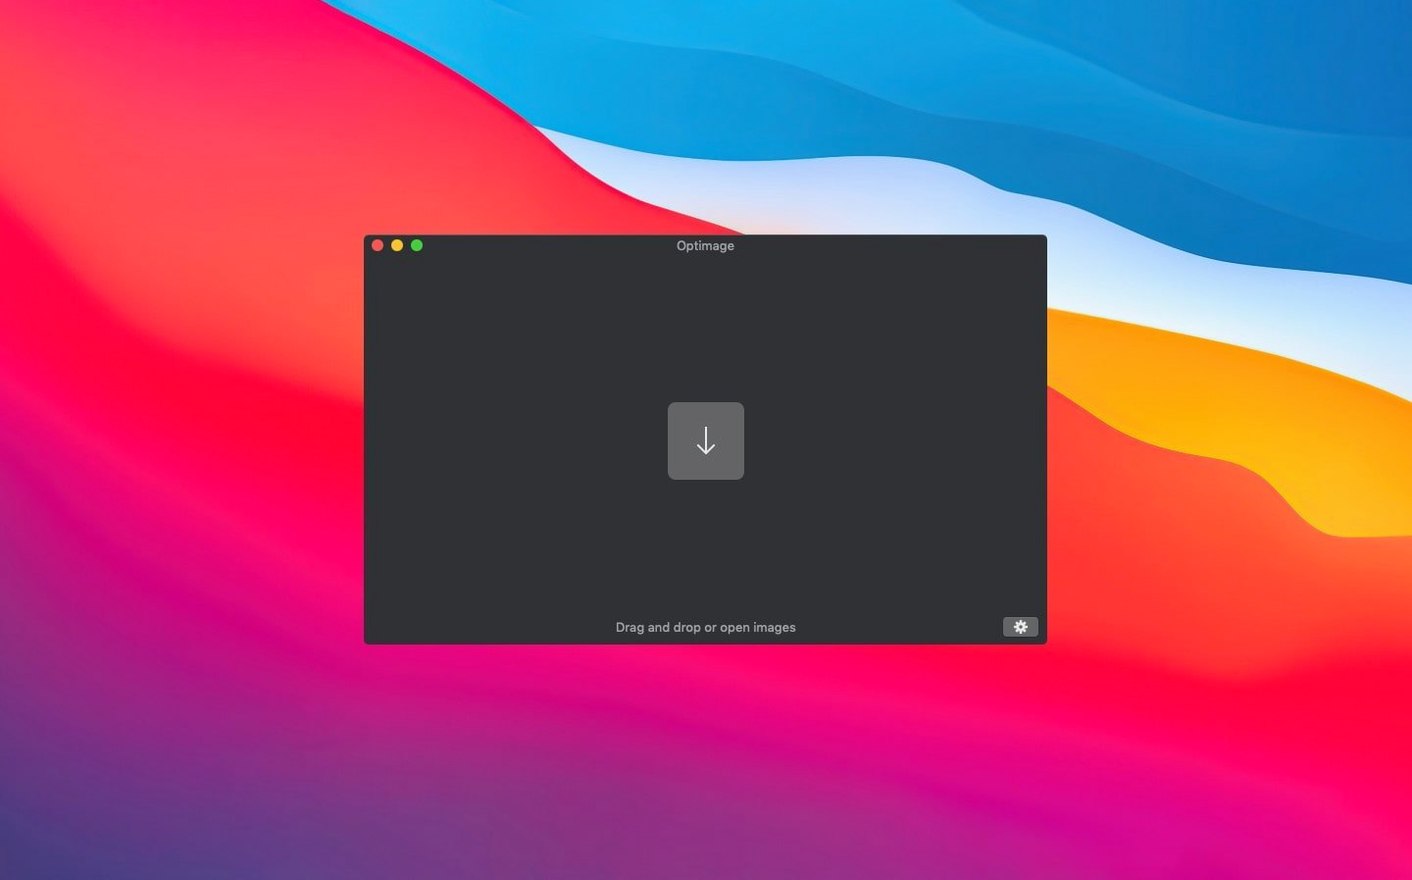
Optimage fits into a standard macOS workflow without much friction. You can keep it open alongside Finder and drag folders straight into the main window. For batch work, the built-in CLI client is the better option — pipe results into a shell script or a deployment tool. The app respects ICC color profiles and can convert images to sRGB, which matters when you're prepping assets for the web or sending them to a CMS that expects a specific color space. Because it strips metadata like GPS geotags and thumbnails, it pairs well with a publishing pipeline where privacy and file size both matter.
First Days After Install
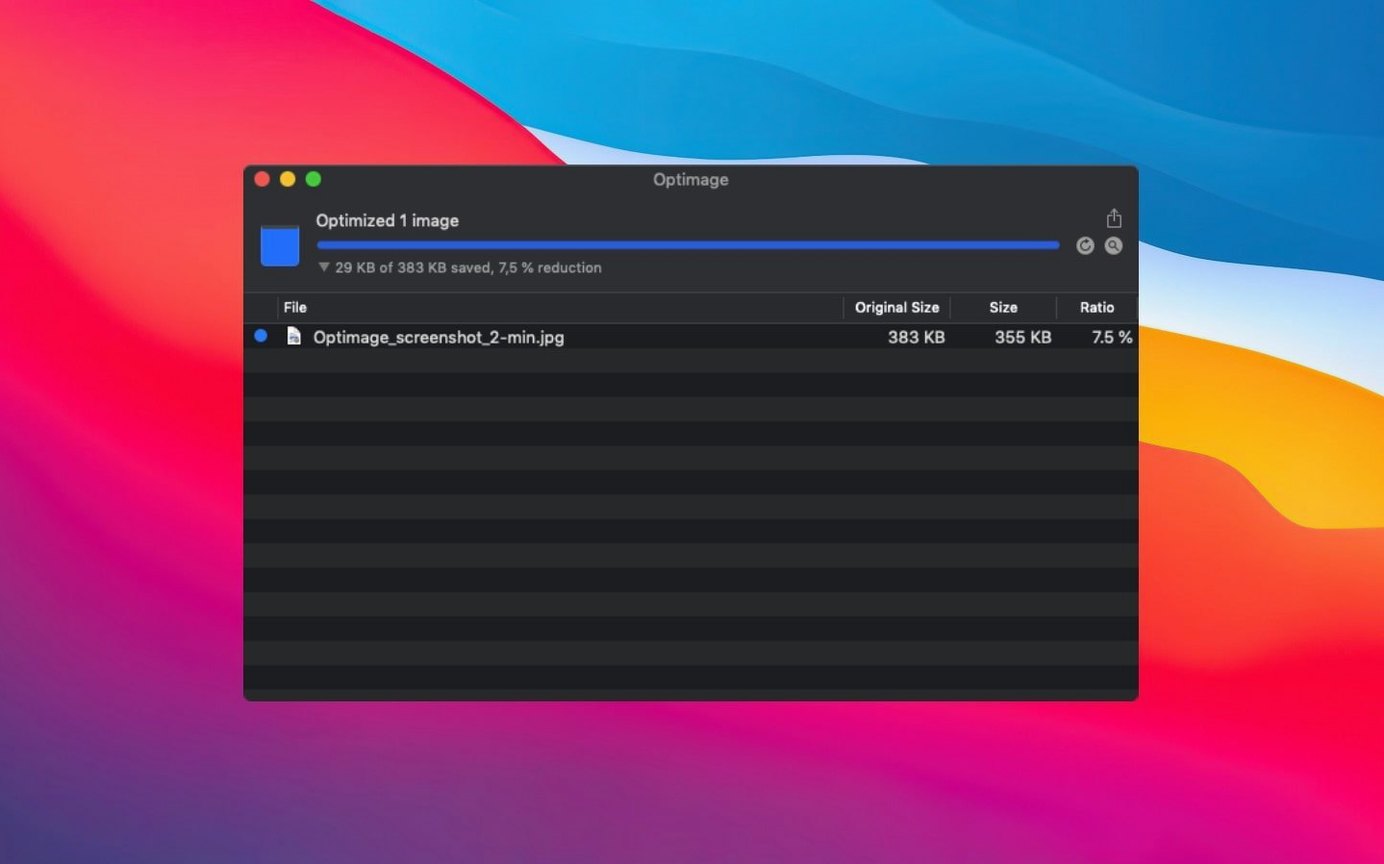
Run a small test set first. Grab a handful of JPEG and PNG files you already know the quality of. Process them with lossless compression to see how much space you save without any data lost. Then switch to lossy mode with the default quality metrics and compare the output side-by-side. You'll get a feel for where the threshold sits for your own images.
After that, try a real-world batch. Set Optimage to strip metadata automatically — you can keep the originals backed up on an external drive or in a separate folder. If you work with photos that have Exif orientation tags, enable auto-rotate. It's one less manual step before uploading.
Once you're comfortable, the CLI becomes the power move. Script a one-liner that processes a folder, converts to sRGB, removes Exif, and drops the output into a staging directory. That's the workflow that saves time week after week.
Working Alongside Other Apps
Optimage doesn't replace your existing image editor or asset manager — it works alongside them. Run it as a post-processing step after you finish editing in Photoshop, Pixelmator, or Affinity Photo. The lossless mode preserves all the adjustments you made, while stripping out the extra baggage editors tend to leave behind.
For web developers, Optimage fits before deployment. Export from Sketch or Figma, batch-optimize with Optimage, then push to your staging server. The CLI client lets you chain it into a build script or a Git pre-commit hook so every asset in your repo stays lean without manual intervention.
macOS Automation
You can set up a folder action in Automator that triggers Optimage when new images land in a watched folder. Or use Keyboard Maestro or Hazel to run the CLI on a schedule. The app is quiet and predictable — it doesn't fight the OS, it just processes what you give it.
Practical Tips for the First Week
- Keep the original files in a separate folder until you're confident in the output. Drag a copy, not the originals, into Optimage for the first few batches.
- Test lossy compression on one or two representative images at the default quality level.
- If you deal with client work or legal documents, turn on metadata stripping by default. It saves a pass and prevents accidental data leaks.
- Smaller files without re-encoding in another tool.
Once you settle into a rhythm, Optimage becomes a background utility — you feed it files, it returns smaller versions, and you move on. The CLI and GUI cover the same ground, so pick whichever fits your day-to-day. For most workflows, the combination of batch processing and quality-aware compression makes it worth keeping around. Search for optimage macos download if you need to grab it again on another machine.
These tools make Optimage a practical pick when you need controlled, repeatable optimization across many images.
- Fixed HEIF detection.
- macOS OS X 10.11 or later
- Intel architecture
Questions I get about this line
Yes, it supports lossy and lossless image compression, letting you choose the trade-off between size and quality.
Yes, it can strip Exif, XMP, IPTC, GPS geotags, comments, and thumbnails.
The install order
- Mount the disk image and run the Gatekeeper-friendly app.
- Press Enter in Terminal to bypass Gatekeeper.
- Drag the app to the Applications folder.
- Launch the app.