
- Version
- 9.5.0
- Developer
- Tenorshare
- Languages
- Russian, English, German, Arabic, Spanish, Italian, Chinese (Traditional), Chinese (Simplified), Portuguese, French, Japanese
- License type
- K'ed by TNT team
| macOS range | OS X 10.8 or later |
|---|---|
| Chip | Intel 64-bit |
| Download | 29 MB |
Screenshots
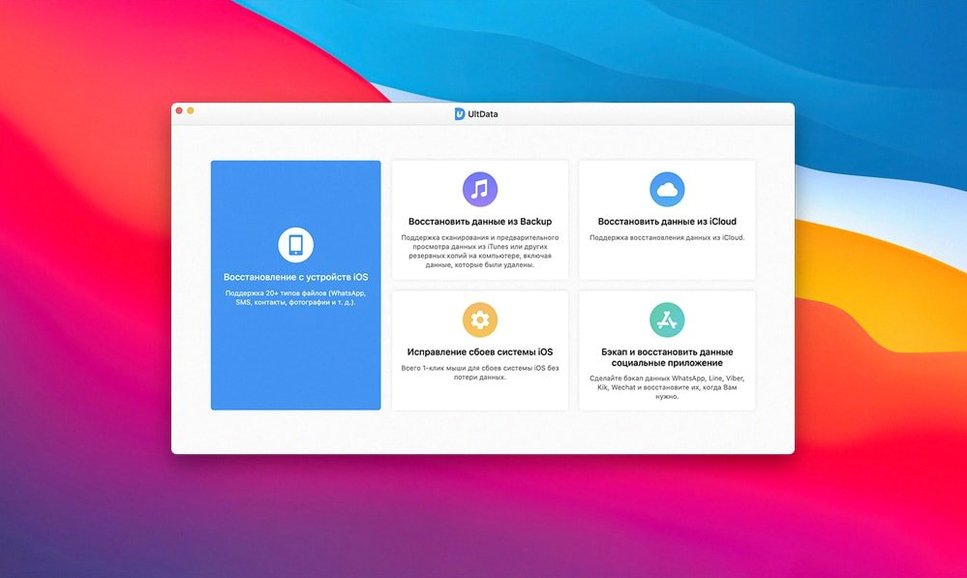
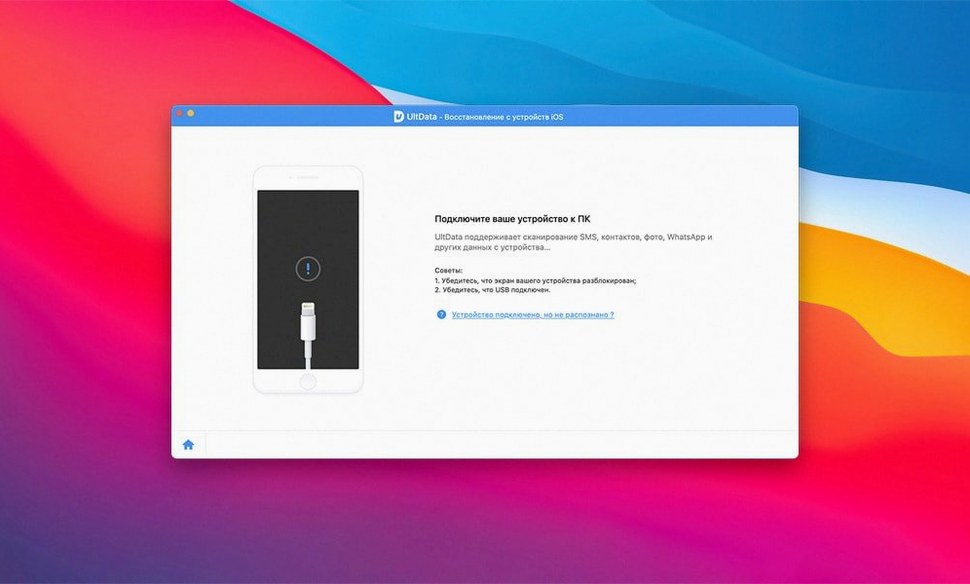
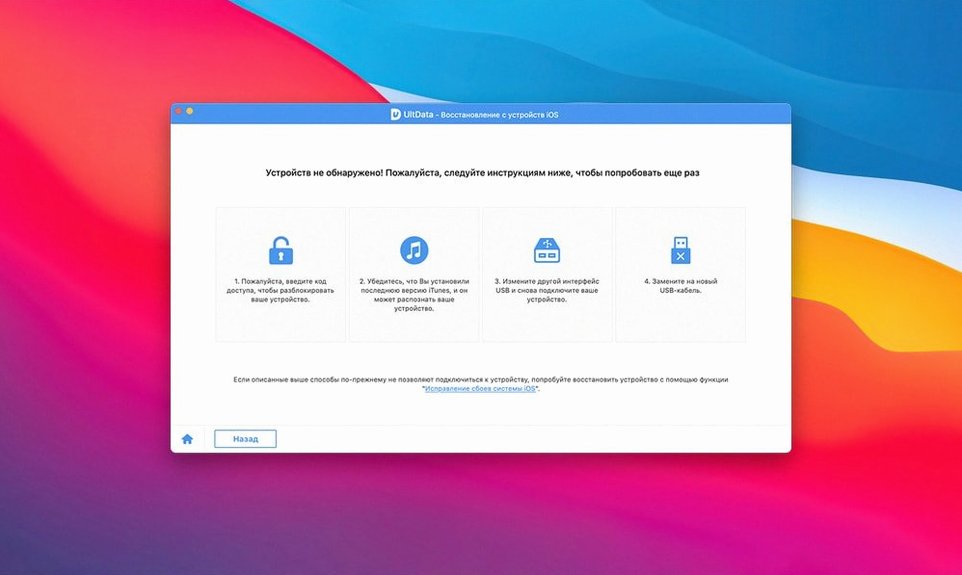
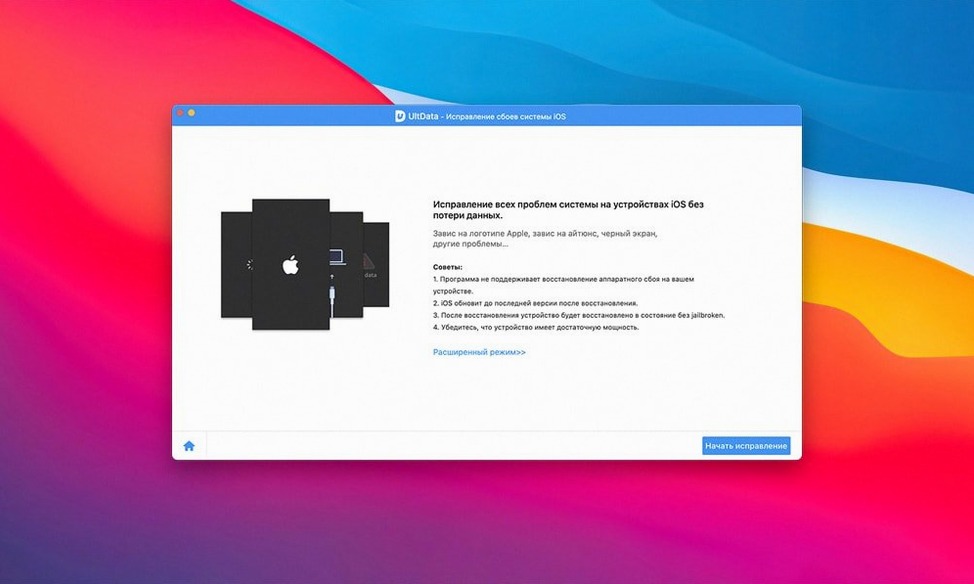
Click a screenshot to see it wider.
Recover from iOS Device mode handles the usual contacts and messages, but the current version also digs into Safari history, voicemail, and FaceTime records. App data is covered too: photos, videos, documents, and audio from apps like WhatsApp, Kik, Viber, and WeChat. Three recovery modes give you options depending on whether the device is accessible, in recovery mode, or backed up.
- Three recovery modes: iOS Device, iTunes Backup, iCloud Backup
- Recovers Safari history, FaceTime data, and voicemail
- Pulls app photos, videos, documents, and audio from messaging apps
- Supports iPhone 11 series back to iPhone 4s, plus iPod touch 1 through 6
- 64-bit Intel app, runs on macOS 10.10 and later
Tenorshare UltData for Mac stays focused on one job: getting lost iPhone data back. The interface is straightforward, and the recovery modes cover the common scenarios without extra clutter.
How UltData Stacks Up Against Similar Mac Apps
Several Mac apps tackle iOS data recovery, but they tend to split into two camps: general file recovery tools with iOS support bolted on, and dedicated iPhone recovery suites. UltData sits firmly in the latter. Compared to a tool like Stellar Data Recovery for iPhone, UltData covers more messaging apps by name (WhatsApp, Kik, Viber, WeChat, Tango, LINE) and adds Safari history, voicemail, and FaceTime data — items that general tools often miss. Another competitor, iMyFone D-Back for iPhone, offers similar recovery modes but typically focuses on standard media and contacts; UltData’s wider app-data recovery and its support for iPod touch generations 1 through 6 give it a broader device range.
Where UltData differs is in its three-mode structure. Many alternatives provide only a direct device scan and an iTunes backup scan. The iCloud Backup mode is less common and can save time if you sync regularly. The interface is also leaner — no flashy dashboards or upgrade prompts that crowd the workspace.
iPhone 11 Series Added to Supported Devices
The jump to version 9.5.0 brought a few practical updates. Device support was refreshed to include the iPhone 11, 11 Pro, and 11 Pro Max alongside the XS, XR, and earlier models. The recovery engine widened its reach into app data, pulling from more third-party messaging clients. Users also gained the ability to recover FaceTime records and voicemail files — items that earlier builds either skipped or handled inconsistently. The underlying scan logic was tuned to better handle encrypted iCloud backups, though the interface and recovery modes remained the same.
Authorize Device Trust Before Scanning
Before you run a recovery, connect your iPhone or iPad and authorize the Mac. UltData needs device trust to scan internal storage. If you see a Gatekeeper warning during installation, follow the terminal step in the install instructions — it bypasses that block in one line.
- Start with the iOS Device mode for a quick scan. It gives you a recovery preview. Check that the app sees your contacts, messages, and photos before moving to deeper scans.
- If the device is not recognized or the scan returns nothing, switch to iTunes Backup mode. This requires a recent iTunes backup file on your Mac. It is slower but recovers data the direct scan might miss.
- Use iCloud Backup mode only if you have a current iCloud sync. The scan takes longer because it pulls from Tenorshare’s servers, but it works when the device itself is inaccessible.
- Sort the preview results by file type. The app groups recovered items by category (contacts, messages, photos, app data). Focus on the sections you need most — you can always run a second scan for the rest.
- Save recovered files to a new folder on your Mac, not back to the device. This avoids overwriting the same data if you need to scan again later.
- macOS OS X 10.8 or later
- Intel 64-bit
- Interface languages: Russian, English, German, Arabic, Spanish, Italian, Traditional Chinese, Simplified Chinese, Portuguese, French, Japanese
Questions I get about this line
It supports iPhone 11, 11 Pro, 11 Pro Max, down to iPhone 4s, plus iPod touch 1 through 6.
The install order
- Mount the disk image.
- Open the Gatekeeper friendly launcher.
- Press Enter in Terminal to bypass Gatekeeper.
- Drag the app into the Applications folder.
- Launch the app — it's ready to use.