Free download (6.2 GB) Previous versions
- Version
- 12.4 CS
- Developer
- Apple
- Languages
- English, German, Spanish, Chinese (Simplified), French, Japanese
- License type
- Not required
| macOS range | macOS 15.6 or later |
|---|---|
| Chip | Apple Silicon, Intel 64-bit |
| Download | 6.2 GB |
| Previous versions | 22 on file |
Screenshots
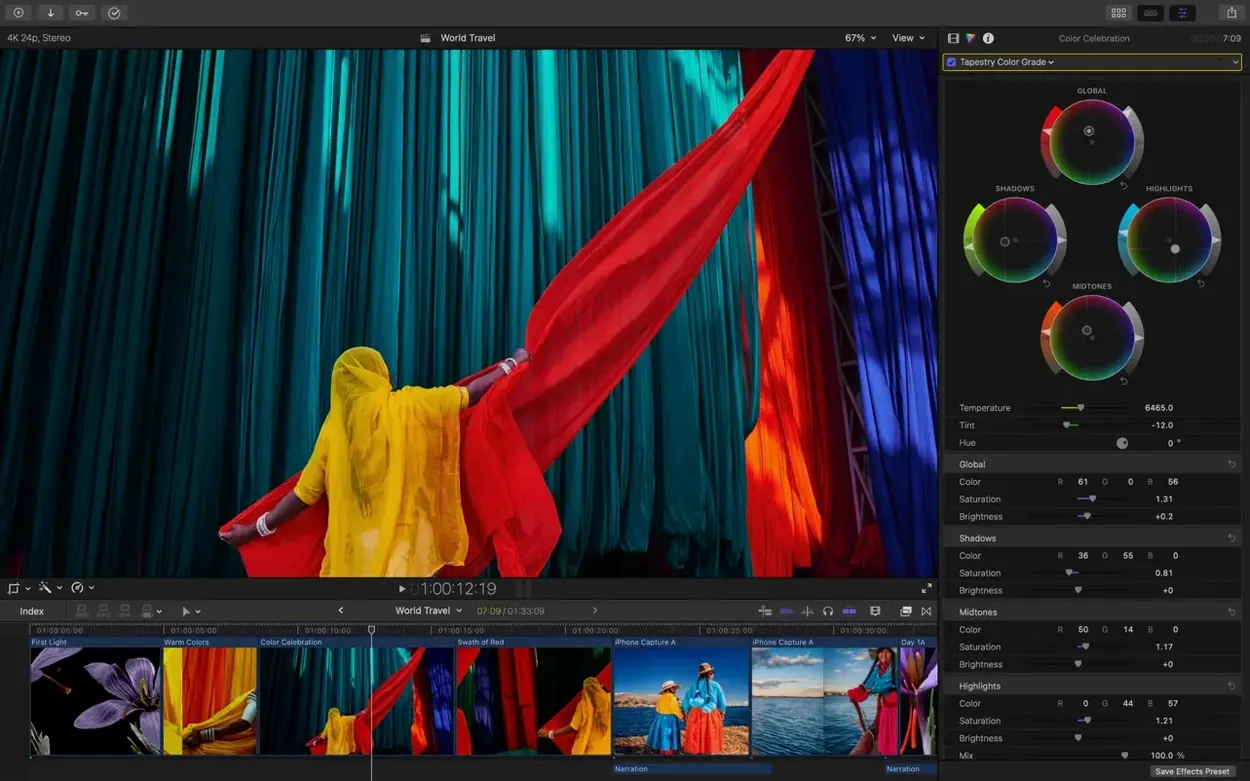
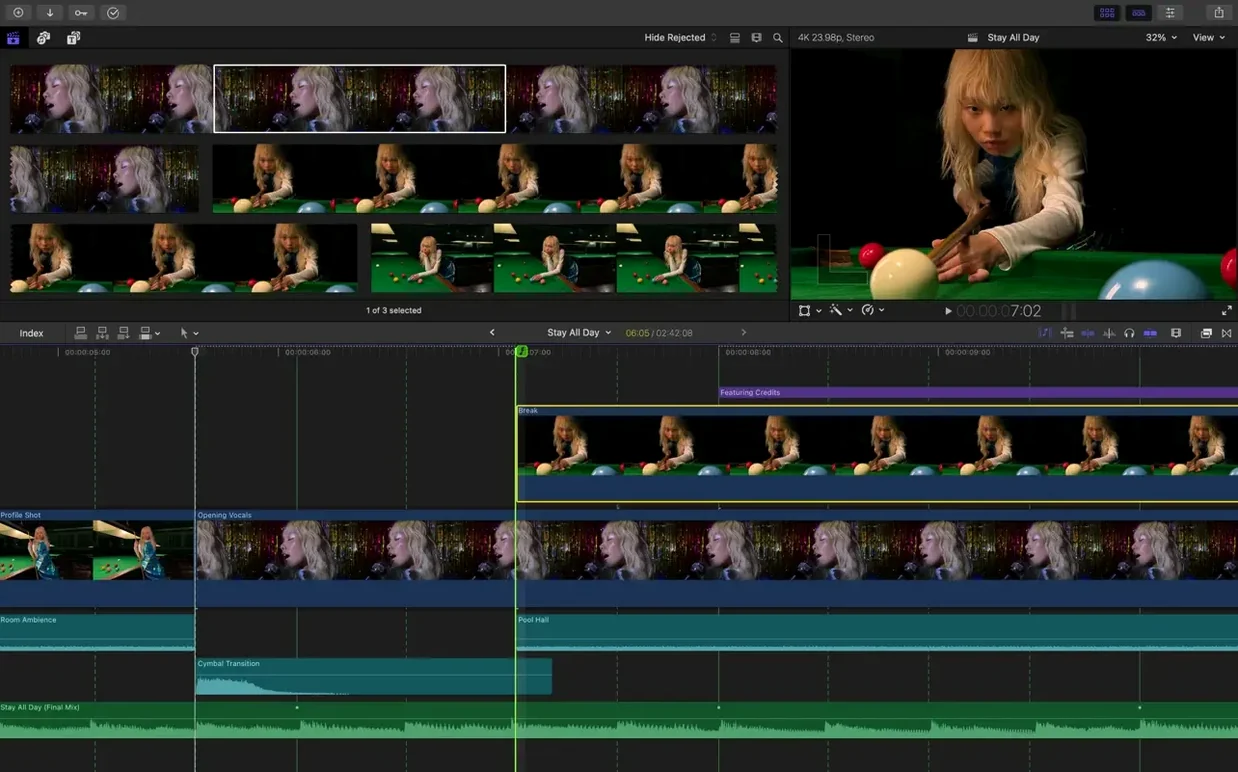
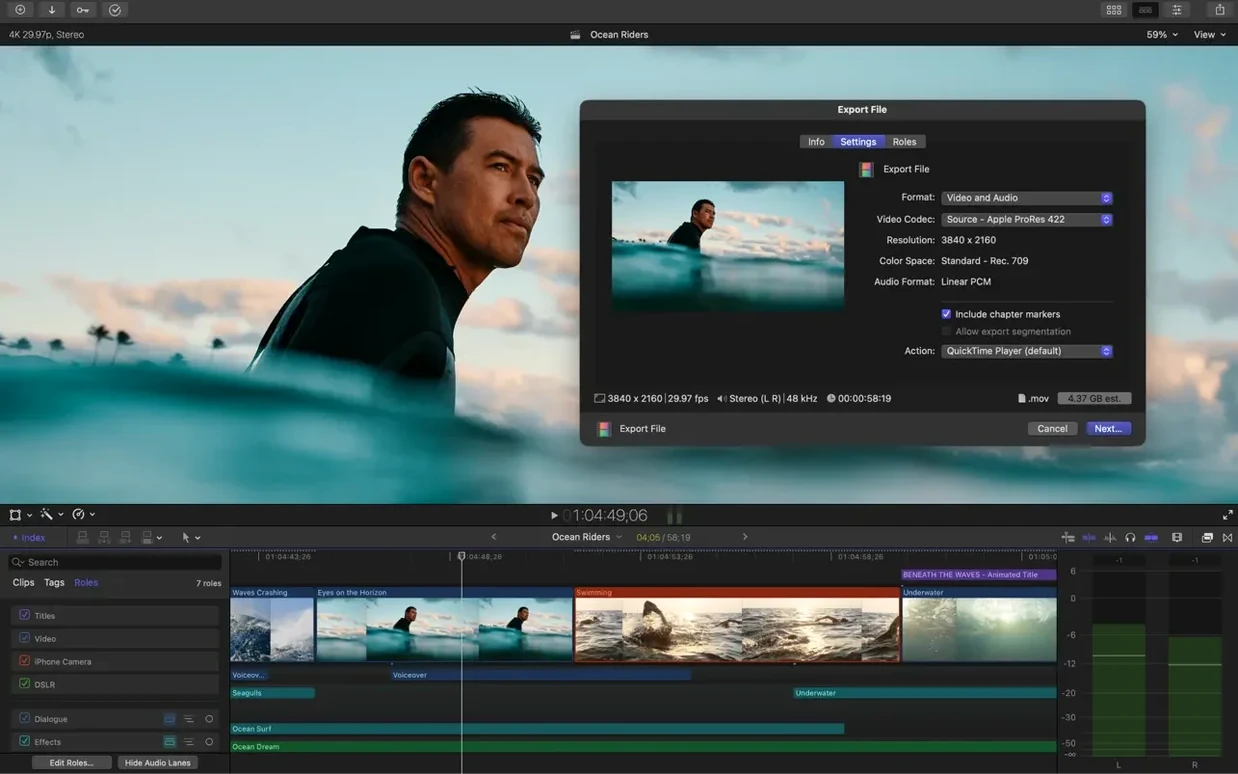
Click a screenshot to see it wider.
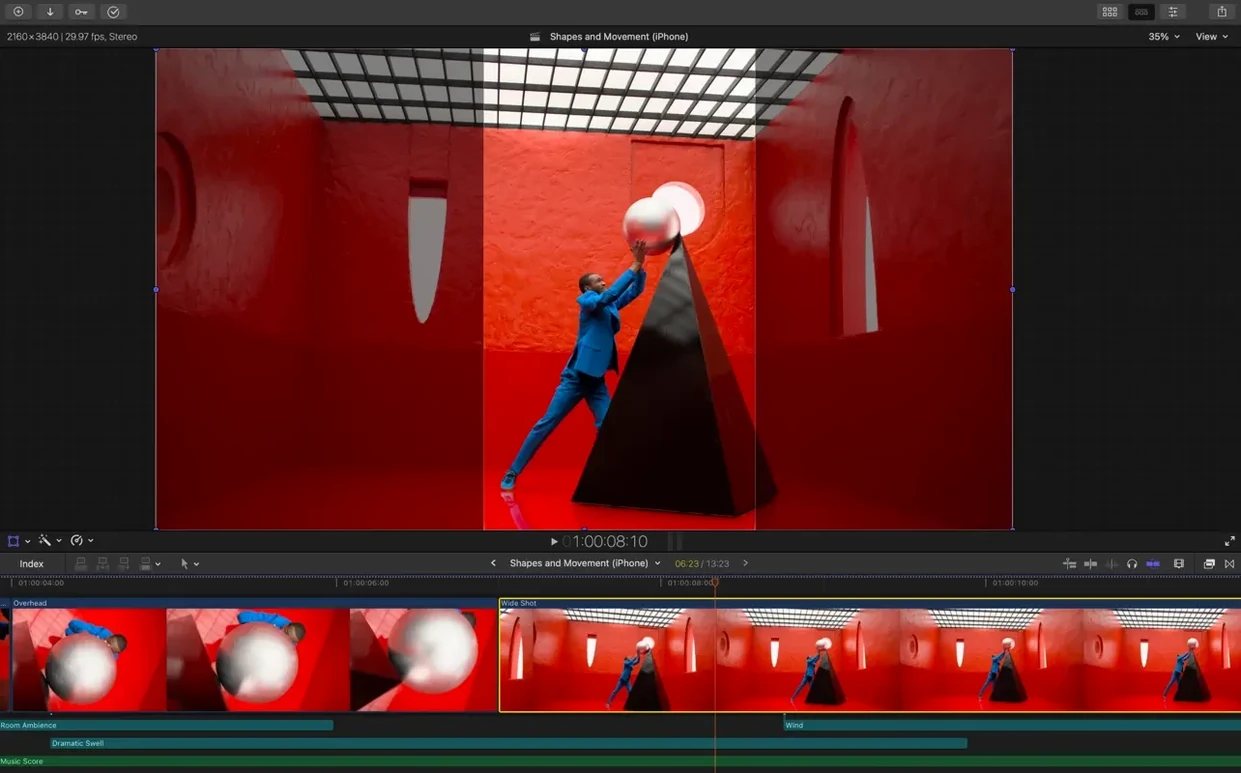
Open the Magnetic Timeline and you'll notice clips snap and push each other around without ever creating a gap. That's the first thing to get comfortable with. Drag a clip onto another — it displaces, it doesn't overwrite. Undo is your friend while you learn the feel.
Try Auto Mask on a Face
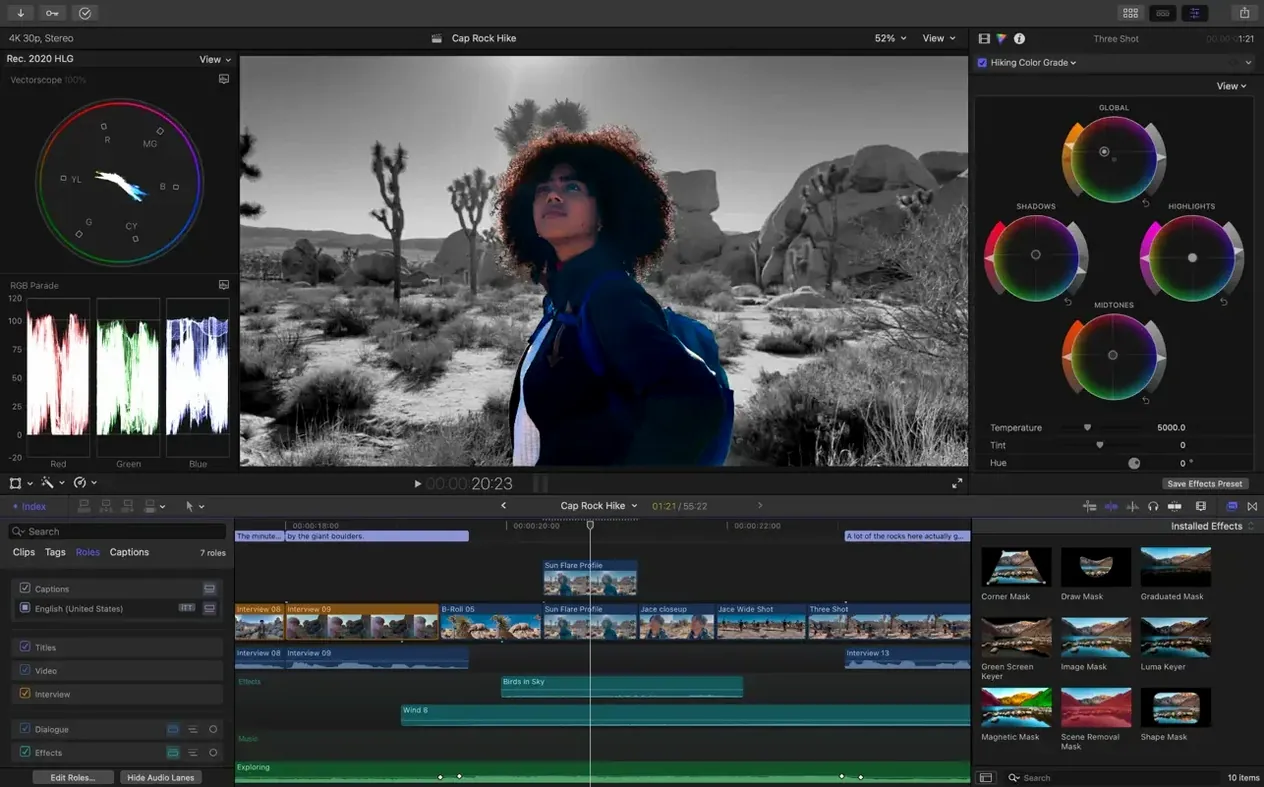
Select a clip with a person in it, open the color inspector, and click Auto Mask. It isolates the subject so you can push exposure or saturation without touching the background. It's one click, and it shows you what the machine learning is doing under the hood.
Set Up Keyword Collections
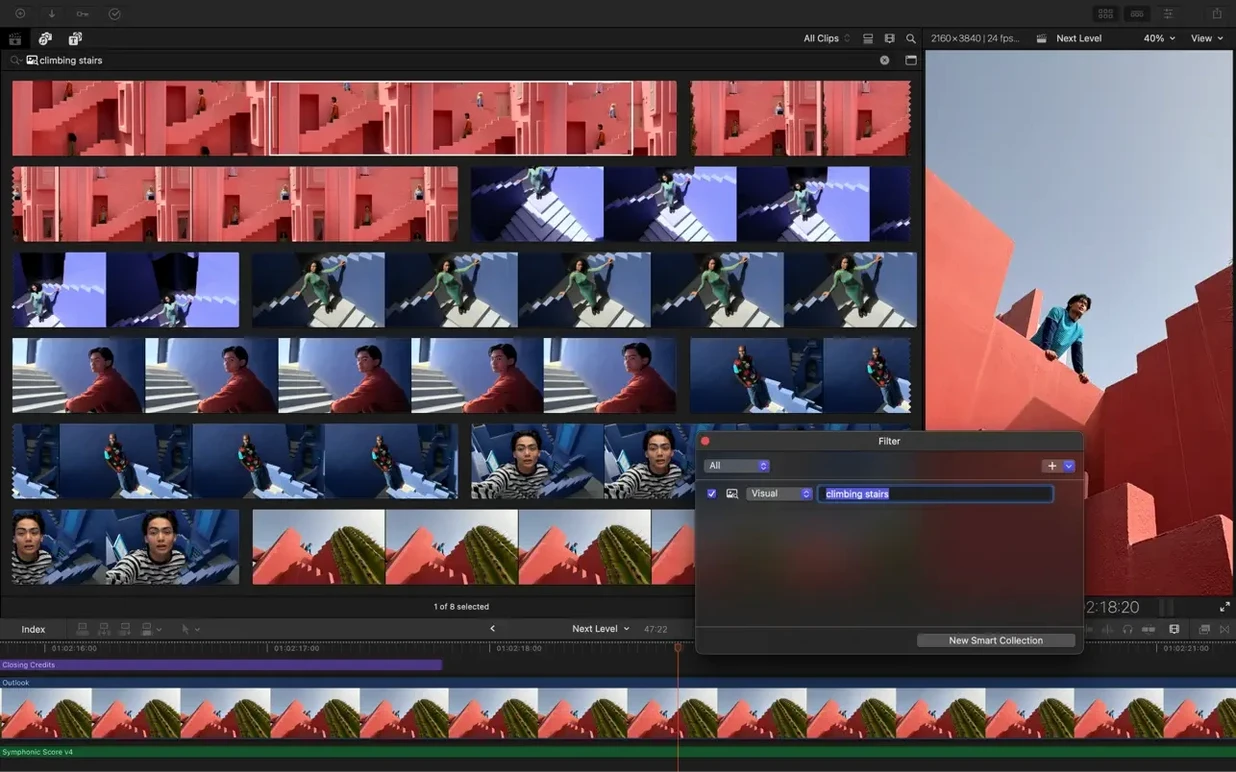
Before you edit, select a range in the browser and press Cmd+K. Type something like "interview" or "b-roll." Later, that keyword becomes a smart collection — a filter that finds every clip you tagged. It's the fastest way to keep a multi-day project organized.
Generate Captions Early
Run Generate Captions on a rough cut. The transcript appears in the timeline, and you can click any word to jump to that moment. It doubles as a navigation tool, not just a subtitle generator.
A Typical Session: From Import to Export
I start every session the same way. Open Final Cut Pro, create a new library, and point it to a folder on an external drive. The app asks if you want to copy media into the library — I say no, keep files where they are. Then I drag a card full of clips into the import window, select all, and let it analyze for content. That analysis is what powers Auto Mask and Object Tracker later.
With media in the browser, I make a project. The first thing I do is drop a few establishing shots onto the timeline to set the pace. Clips nudge each other aside, no gaps. I trim the fat with the blade tool — hit B and cut away dead space. When the rough structure is there, I switch to the magnetic timeline and start layering. A talking head on the primary storyline, cutaway clips above it, connected. They stick to the primary clip until I move it, then they follow. No manual relinking.
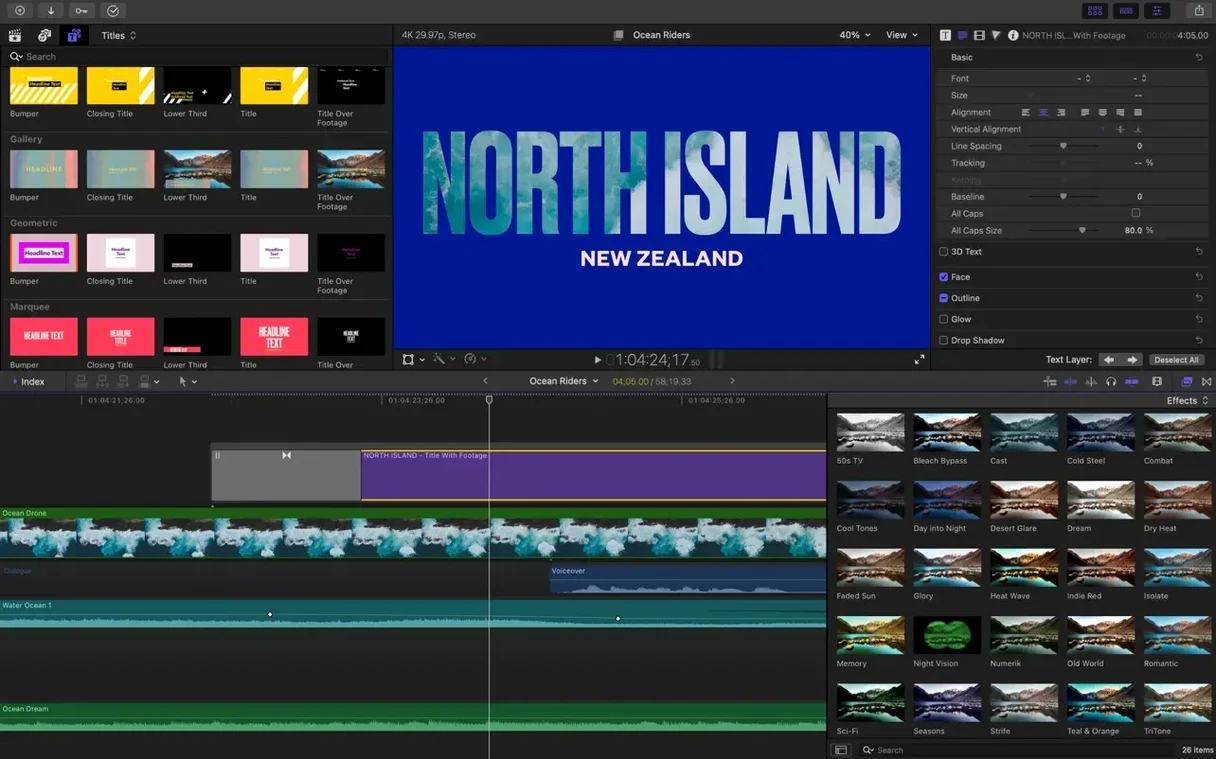
Color comes next. I match shots from two cameras using Match Color — select the clip I want to match, find the reference clip, apply. It handles the white balance and exposure shift. Fine-tune with the color board if needed. Then I add a title from the browser, drag it onto the clip, and use Object Tracker to pin it to a moving subject. Set the tracker, wait a few seconds, done.
Last step is captions. Generate Captions on the whole timeline, check the transcript for odd words, and apply the style I set up at the beginning. Export to YouTube format. Total time on a three-minute piece: maybe forty minutes, most of it trimming.
Show detailed export progress
Library Gets Bloated
Check the import settings — you probably checked "Copy to library." That duplicates your media inside the app file. To fix it, delete the copied media from the library (File > Delete Generated Files) and relink the project to the original folders. Keep your media on a separate drive.
Auto Mask Misses the Subject
Sometimes Auto Mask selects a background object instead of the person. The trick is to brush over the subject with the selection tool after clicking Auto Mask. You can add or subtract areas manually. It's not perfect on every frame, but for static shots it works well enough.
Object Tracker Loses the Target
If the subject moves fast or leaves the frame, the tracker might jump. Reduce the tracking area — draw a tight box around just the face or object, not a big chunk of frame. If it still drifts, try tracking backwards from the end of the clip. Sometimes that works better.
Export Hangs at 99 Percent
Usually a corrupt effect or a missing font. Check the timeline for red render bars — that clip needs to be re-rendered. Select it and press Control+R. If that doesn't help, remove third-party plugins one by one and try again.
Turn on detailed export progress and timeline options
Open Final Cut Pro > Settings and change these right away:
- General > Show detailed export progress. Turn this on. It shows you the actual encoding step instead of a vague progress bar.
- Editing > Timeline > Show duplicate frames with markers. On. It flags clips that repeat, which is easy to miss in a long project.
- Playback > Background render. Off if your Mac is on the older side. Background render hogs CPU and makes everything else slow. Render when you're idle.
- Import > Analyze video for stabilization and rolling shutter. Off unless you know you need it. It slows import and eats disk space for analysis you might never use.
Workflow: Color Correct Two Cameras in Ten Minutes
You have a two-camera interview. Camera A is a Sony, camera B is a Canon. The white balances don't match. Here's the fast route.
- In the browser, select all clips from both cameras. Press Cmd+Option+M to open the multicam viewer.
- Angle editor opens. Drag camera A clips to angle 1 and camera B clips to angle 2. Use the audio waveform to sync them — find a clap or a word and align.
- Create a multicam clip. Drop it on the timeline.
- Switch to the color inspector. Find a shot from camera A that looks right. Click Match Color, then click a similar shot from camera B. The app adjusts the second one to match the first.
- If the match is off, use the color board to tweak shadows, midtones, and highlights. Copy that correction with Cmd+C and paste it to the other camera B clips in the multicam angle.
- Preview the timeline. The cut points should show minimal shift in exposure or hue.
- Export a master file. That's it — no manual white balancing shot by shot.
This workflow works because Match Color handles the heavy lifting, and multicam keeps everything in sync. For longer projects, batch the correction by applying the same correction to all clips in a smart collection filtered by camera name.
- Generate Captions adds subtitles with customizable appearance.
- Auto Mask isolates recognized objects for color correction or enhancement.
- Match Color matches color across different cameras and lighting conditions.
- Edit Detection splits rendered video into separate clips.
- macOS 15.6
- 8 GB RAM
- 5.8 GB disk space
- Metal-capable graphics card for Intel Macs
- Some features require an Apple silicon Mac
- Some features require an internet connection
The install order
- Mount the downloaded disk image.
- Drag the app to the Applications folder alias.
- Launch the app from Launchpad after copying is complete.