
- Version
- 2023.1.5
- Developer
- JetBrains
- Languages
- English
- License type
- Included
| macOS range | macOS 10.15 or later |
|---|---|
| Chip | Apple Silicon, Intel 64-bit |
| Download | 1.8 GB |
Screenshots
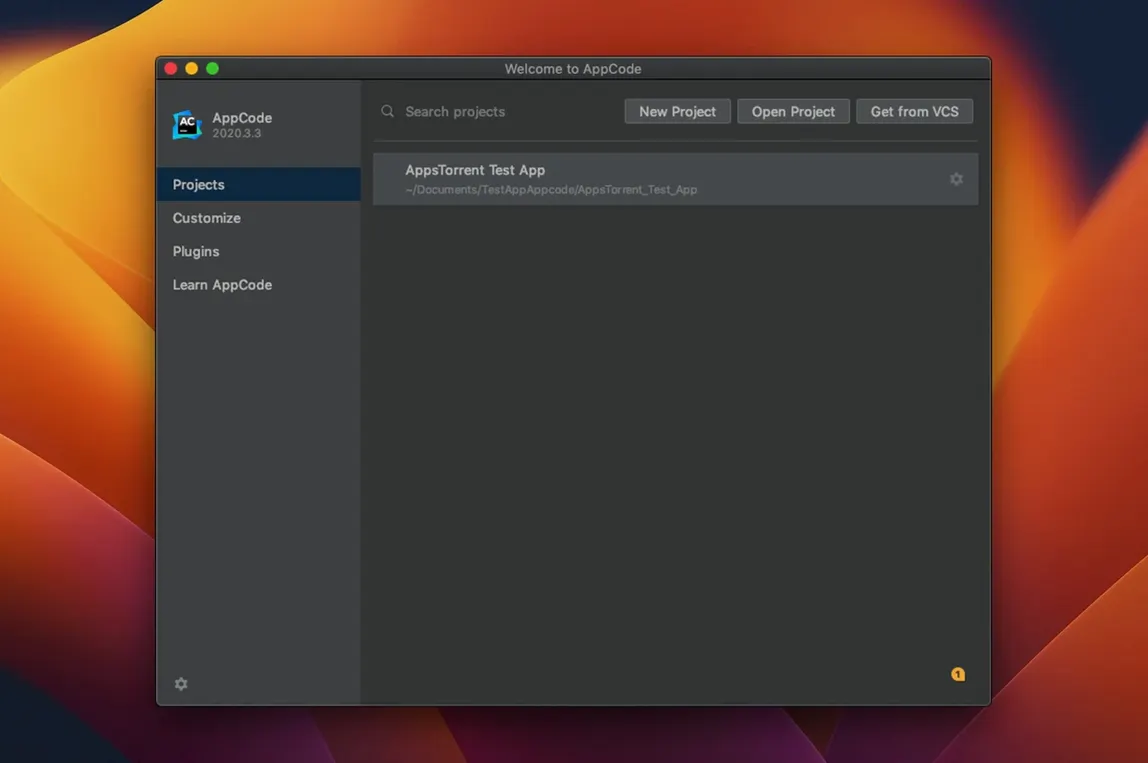
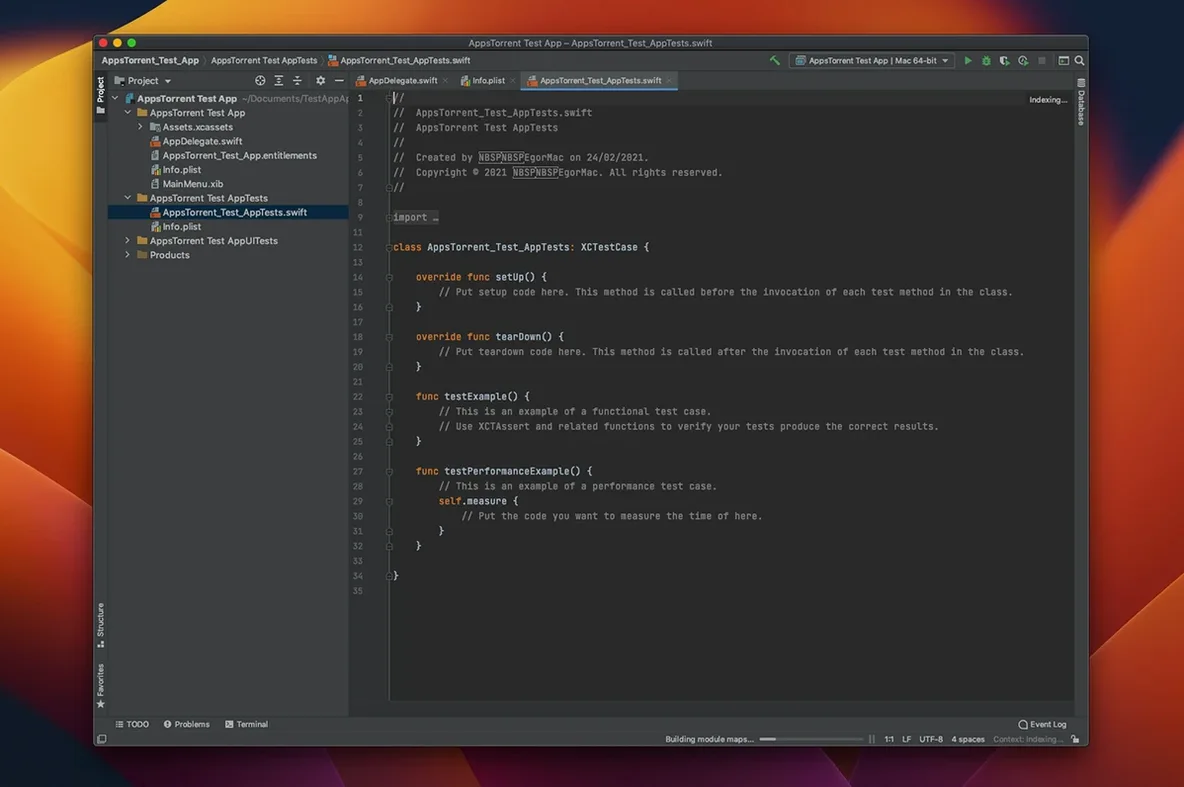
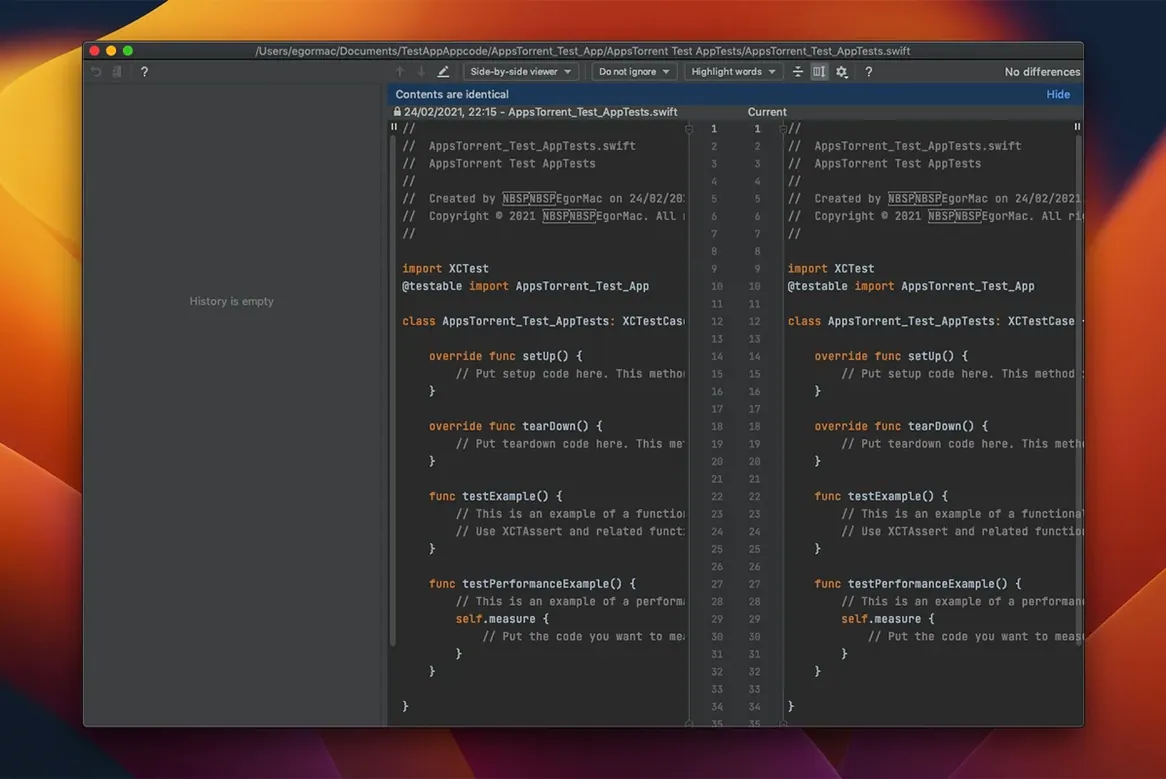
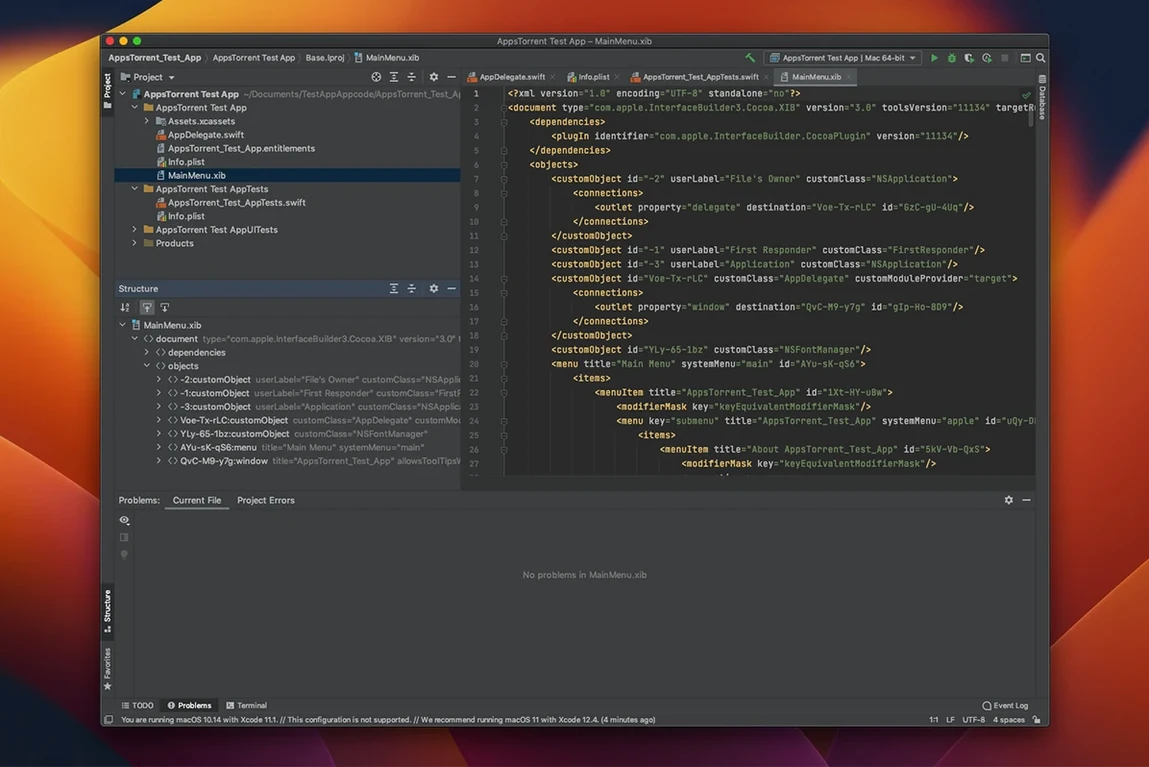
Click a screenshot to see it wider.
If you already use IntelliJ IDEA for JVM work, AppCode feels familiar. It is the same platform, aimed at Apple development.
What is AppCode?
AppCode is an IDE for iOS and macOS development from JetBrains. It handles Swift, Objective-C, C, and C++ in one tool.
Catches issues as you type with safe refactorings
It suits developers who want a full-featured editor with deep language support, not just a text editor. The on-the-fly code analysis catches issues as you type, and the safe refactorings keep changes predictable.
What does it integrate with?
AppCode works with CocoaPods and Reveal, so you can manage dependencies and inspect views without leaving the IDE. It also generates declarations from usage and stubs for overrides and implementations.
Jump between iOS projects without setup overhead
One scenario: a freelancer maintaining a handful of iOS apps for local businesses jumps between projects weekly. In Xcode, project setup eats time – remembering which CocoaPods each project needs, which test framework it uses, where the build configs live. AppCode keeps that straight per project automatically. Open the project, and the IDE already knows the dependency manifest and the test runner (XCTest for one, Quick for another). The developer spends time on code, not on reconfiguring.
GitHub integration security fix for daily use
Version 2023.1.5 is a bug-fix release. For everyday use, the most relevant change is the JetBrains GitHub Plugin security fix. If you use the built-in GitHub integration to clone repos or review pull requests, that channel stays protected. The rest of the improvements are under the hood – fewer edge-case crashes during code analysis, better memory handling on large projects. Nothing that changes your daily workflow, but the IDE should feel a bit tighter over a full workday.
Working with mixed-language projects
Consider a small team maintaining an older Objective-C app while gradually migrating features to Swift. In Xcode, bridging headers and module maps add friction. AppCode handles both languages in the same project without extra configuration. The code completion suggests Swift APIs from Objective-C files and vice versa. The refactoring tools rename symbols across both languages, so a method rename in a Swift extension updates the Objective-C callers too. That saves time during the migration phase.
Test framework variety matters
AppCode supports XCTest, Quick, Kiwi, Catch, Boost.Test, and Google Test. A developer who inherited a project using Quick for unit tests and Kiwi for integration tests does not need to switch between test runners or configure each one separately. The IDE runs them from the same test panel. The same applies to C++ projects using Google Test or Boost.Test – the test output appears in the familiar IntelliJ test runner interface, not in a terminal window.
What the latest version changed for everyday use
AppCode 2023.1.5 is a bug-fix update. For day-to-day work, the most noticeable change is the JetBrains GitHub Plugin security fix.
What to expect on your Mac
AppCode runs on macOS 10.15 and later. It supports both Apple Silicon and Intel 64-bit Macs. The IDE is a JetBrains product, so it uses the same Java-based platform as IntelliJ IDEA. On an Apple Silicon Mac, it runs natively via the ARM build. On an Intel Mac, the x86 build works as expected. The interface language is English. The app requires roughly 1.5 GB of disk space for the installation, plus additional space for project caches and indexes. No extra runtime or Xcode license is needed – AppCode works alongside your existing Xcode installation.
It supports both Apple Silicon and Intel 64-bit Macs, with macOS 10.15 or later.
- Bug-fix update.
- Fixed a security issue related to the JetBrains GitHub Plugin.
- macOS 10.15 or later
- Apple Silicon or Intel 64-bit
The install order
- Install the app using the included instructions.
- Follow the included activation instructions.